

Whipped cream should be the easy finish, not the reason dessert runs late. If your immersion blender came with several attachments, the first decision is not how long to run it. It is which attachment belongs in the cream.
Can you make whipped cream with an immersion blender? Yes, with a suitable whipping attachment. For the FRESKO H9, choose the wire whisk: its US manual specifically identifies cold whipping cream as a whisk task. Start gently, keep the whisk in the mixture, and stop to check the peaks. Do not substitute a promised number of seconds for texture.
This guide uses the supplied H9 US manual and published baking guidance, not a timed comparison test.
Immersion blender whipped cream: choose the whisk
The H9's wire whisk and guarded blending blade share a motor, but they do different jobs. The whisk incorporates air into light mixtures. The blending arm is intended for tasks such as soups, sauces, smoothies, and purées. A blade's ability to smooth food is not a reason to choose it for an airy dessert topping.
| Attachment | Manual-supported role | What to choose here |
|---|---|---|
| Wire whisk with its gearbox | Whipping cold cream, whisking egg whites, and light dessert mixtures | Use this for whipped cream. |
| Blending arm with guarded blade | Blending liquids and puréeing ingredients | Keep it for blending tasks; the H9 manual does not provide a blade-based whipped-cream method. |
| Chopper attachment | Small-batch chopping | Not a substitute for the whisk. |
Some hand-blender systems have specialized aerating attachments. Instructions for those are not automatically instructions for the H9's cutting blade. If you own an H9, you already have a clear choice: use the supplied whisk. This recommendation is about the documented task, not a claim that we measured one attachment against another.

Start with cold cream and a container that fits
Use dairy heavy cream or whipping cream intended for whipping, straight from the refrigerator. Do not assume milk, half-and-half, or a liquid coffee creamer will behave the same way. If you want a sweetened topping, use a reliable whipped-cream recipe for the sugar and flavoring amounts; King Arthur Baking's basic whipped cream recipe is one option. Its equipment timings are not H9 operating instructions.
Choose a stable, deep mixing bowl with room for the whisk to move without striking the sides. A very broad bowl can leave a small quantity of cream too shallow. An excessively narrow vessel can crowd the wire whisk. You need both enough depth to engage the wires and enough width for clearance, plus generous space above the liquid for expansion and splashes.
A blending beaker is not automatically the best choice just because it came in the box. Check the fit with the appliance unplugged. If the whisk cannot sit comfortably in the cream without hitting the container, change the container or the batch size before starting. Keep the motor body and whisk gearbox above the ingredients.
How to use the H9 whisk without rushing the cream
The H9 has pressure-controlled variable speed: a light press runs it more slowly, and a deeper press increases speed. Treat that as a way to adjust while watching the cream, not as an instruction to squeeze fully from the start.
- Assemble while unplugged. Fit the wire whisk into its gearbox and securely attach the assembly to the handle according to the H9 instructions and connector markings. Do not force a connection.
- Position before starting. Place the container securely on the counter and lower the whisk vertically into the cold cream. Keep fingers, hair, utensils, and the cord away from moving parts.
- Start with a light press. Begin gently so you can judge the container and mixture. Increase pressure gradually only as needed; if cream starts escaping the bowl, stop and correct the setup.
- Watch for tracks. As the cream gains body, whisk marks become more visible. Release the controller and let the whisk stop completely before lifting it to inspect the texture.
- Finish in small increments. If the cream needs more structure, return the whisk to the mixture before restarting. Once it holds the shape you want, stop. More speed is not a finishing step.
Respect the motor limit: the supplied H9 manual specifies a maximum of one minute per operating cycle and at least one minute of cooling between cycles. That is an equipment limit, not a promise that cream will be ready in one minute. Stop earlier whenever the texture is right. If the unit overheats, unplug it and follow the manual or contact support rather than repeatedly restarting it.
Soft or firm peaks? Choose before you start
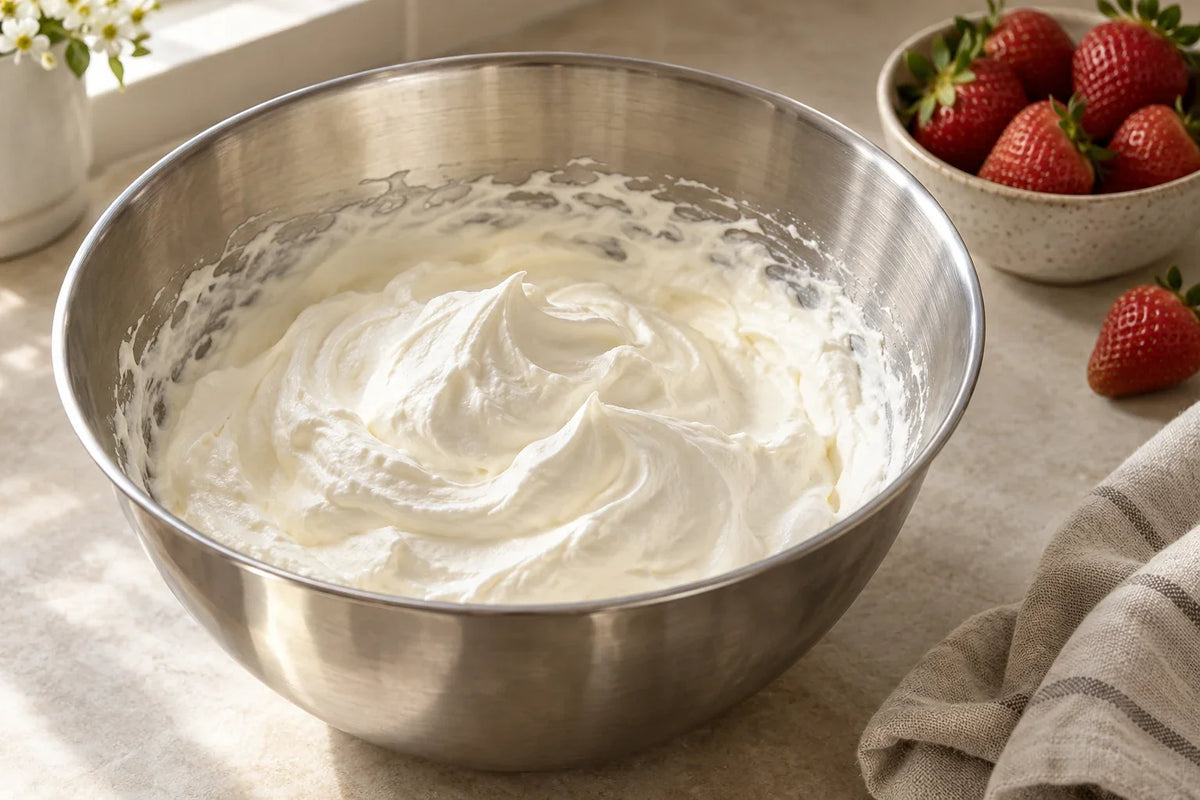
A timer cannot see the difference between cream for spooning over berries and cream for holding a defined dollop. Check the peak on the stopped whisk and the texture left in the bowl.
| Stage | What you see | Your next move |
|---|---|---|
| Still liquid | The cream flows freely and does not hold a peak. | Check temperature and ingredients; continue only within the operating limit. |
| Soft peaks | A lifted peak folds over; the cream looks smooth and billowy. | Stop for a soft, spoonable topping. |
| Firm peaks | A peak holds its shape more upright, while the cream remains smooth. | Stop if you want a more defined dollop. |
| Going too far | The texture becomes grainy, clumpy, or begins to separate. | Stop immediately; more whipping will not restore the original foam. |
Do not wait for every trace of softness to disappear. The useful endpoint is the consistency your dessert needs, not the stiffest mixture the machine can produce.
Why did the cream splatter, stay thin, or turn grainy?
| Problem | What to check | Next step |
|---|---|---|
| Cream splashes out | Starting speed, container depth, and whether the running whisk was lifted | Stop fully. Adjust the vessel or fill level, then restart gently with the whisk in the cream. |
| Cream stays thin | Whether the cream is cold and intended for whipping; whether the wires reach the mixture | Correct the ingredient or setup problem. Do not exceed the motor's cycle limit while waiting for a change. |
| Cream just starts turning grainy | Possible overwhipping | A little cold, unwhipped heavy cream gently worked in may recover it. Stop frequently to reassess. |
| Distinct buttery solids and liquid appear | The mixture has separated beyond the intended topping | Do not expect more powered whisking to bring back airy whipped cream. Start a fresh topping. |
The recovery suggestion follows King Arthur Baking's guidance on overwhipped cream. It is not a guaranteed reset, and adding fresh cream does not make temperature-abused dairy safe.
Keep it cold, then separate the parts for cleanup
Serve promptly or cover and refrigerate the whipped cream at 40°F (4°C) or below. Count preparation and serving time together: discard perishable cream left at room temperature for more than two hours, or more than one hour above 90°F (32°C). These are FDA food-storage limits, not a recommended countertop holding time.
After use, unplug the H9 before detaching parts. The supplied manual permits the separated wire whisk on the dishwasher's top rack. The whisk gearbox and motor body need a clean damp-cloth wipe and thorough drying, not immersion. See our immersion blender cleaning guide for the complete part-by-part rules.
For this task, the useful features of the FRESKO H9 immersion blender are its supplied wire whisk and adjustable trigger pressure. Choose the right attachment, leave room in the bowl, and let the peaks tell you when to stop. For other attachment-appropriate ideas, explore our immersion blender recipe collection.
Aktie:
How to Vacuum Seal Liquids: A Freeze-First Workflow