

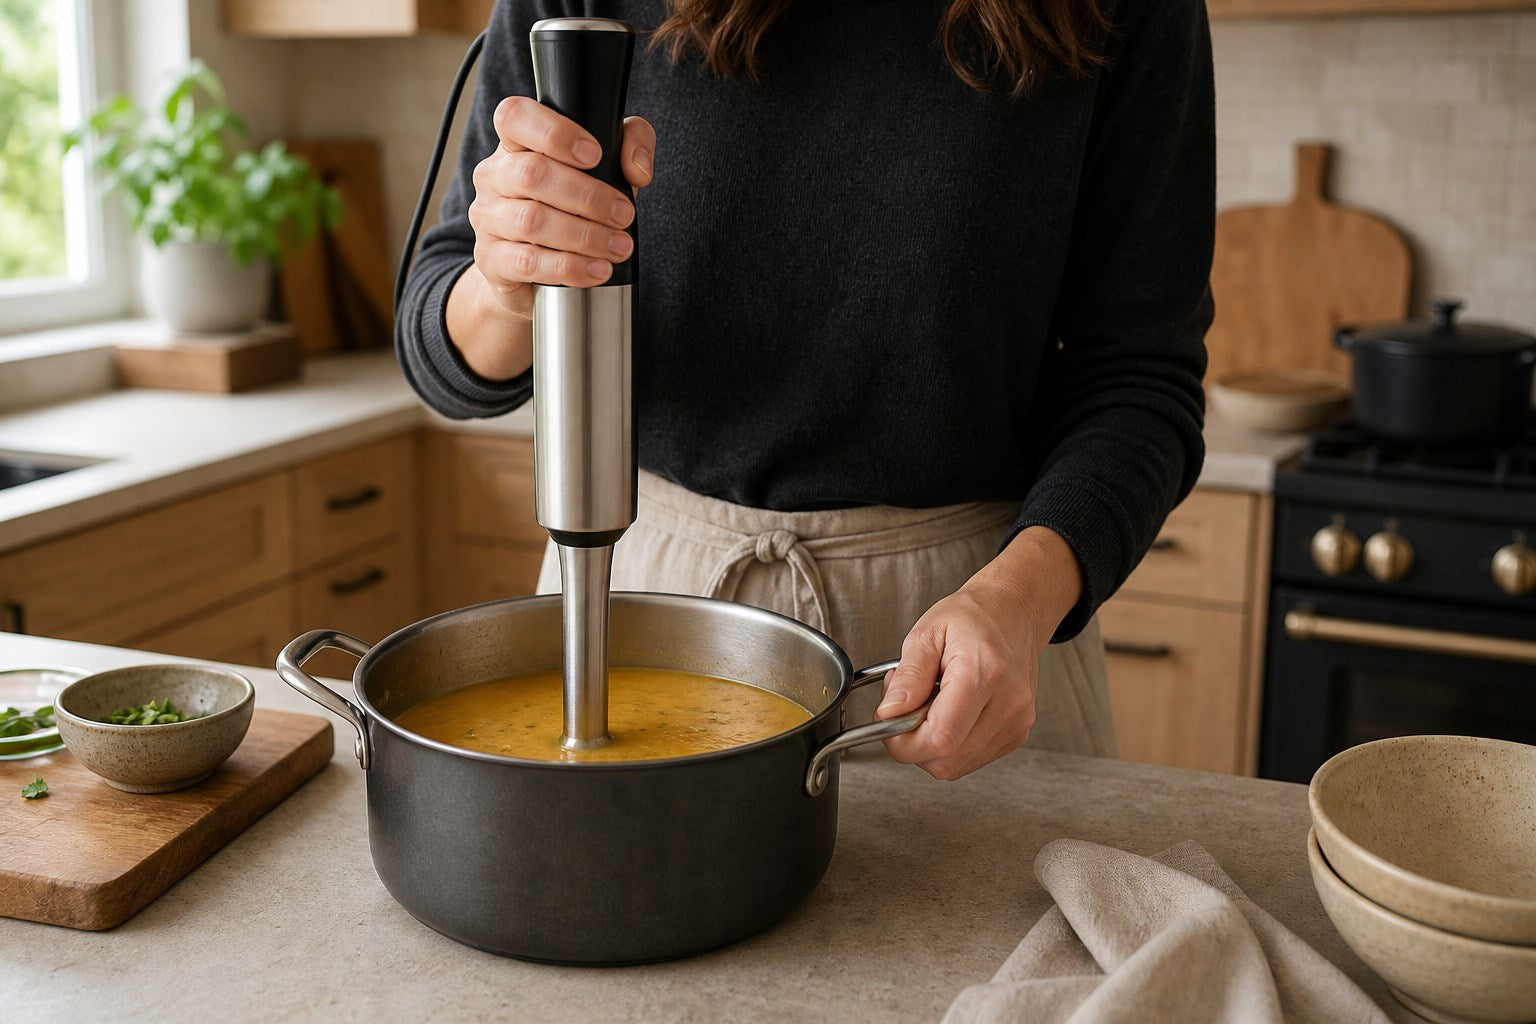
An immersion blender should make soup night easier, not repaint the backsplash. If yours throws droplets the moment you press the button, the tool is usually not the problem. Splatter happens when the blade guard is too close to the surface, the container is too shallow, or the motor starts at full speed before the food begins moving.
Here is how to use an immersion blender with control: submerge the bell first, start low, keep it slightly off the bottom, and stop the motor before lifting it out. That four-part habit works for soup, sauce, smoothies, mayonnaise, and most other everyday jobs.
7-step quick answer
- Use a deep, narrow container that is no more than two-thirds full.
- Attach the blending shaft securely.
- Place the bell flat against the bottom, then lift it slightly.
- Keep the bell completely under the food.
- Start at low speed or light trigger pressure.
- Move slowly and tilt the pot only when needed.
- Release the trigger before lifting the blender out.
Why Immersion Blenders Splatter
The spinning blade pulls food into the bell-shaped guard and pushes blended food outward through its openings. When those openings break the surface, they pull in air and fling liquid sideways. A wide skillet or half-inch layer of sauce gives the bell very little depth, so even careful technique can splash.
Three conditions cause most messes:
- The bell is partly above the surface. Its side openings become tiny spray nozzles.
- The motor starts too fast. Large pieces and thin liquid accelerate before a stable vortex forms.
- The container is too full or too shallow. Food has nowhere to move except over the rim.
How to Use an Immersion Blender Without Splatter
1. Choose a deep container
For a small batch, use a tall beaker or narrow-sided measuring cup. For soup, use a deep pot rather than a shallow pan. Leave generous empty space above the food; half to two-thirds full is easier to control than a nearly full vessel. A narrow container also keeps more food circulating near the blade.
2. Check and attach the blending shaft
Unplug the motor unit, align the detachable shaft, and twist or click it into place according to the manual. Inspect the bell guard for trapped food or damage. Keep the cord away from the burner and pot rim. If you are using a nonstick pot, confirm that your model's guard is suitable for the coating and avoid dragging it across the surface.
3. Submerge before you start
Place the bell against the bottom, then raise it just enough that food can flow underneath. The openings around the bell must stay fully covered. Do not turn the blender on in midair and lower a spinning blade into the pot.

4. Start low
Use the lowest speed or lightest trigger pressure for the first few seconds. This breaks large pieces down without launching thin liquid. A pressure-sensitive trigger makes the transition intuitive: squeeze gently to begin, then increase pressure only after the mixture is moving smoothly.
5. Blend in slow sections
Hold the blender mostly vertical and pause in each area for a few seconds. Move it around the pot in a slow path instead of pumping rapidly up and down. When food stops circulating, tilt the blender a few degrees or carefully tilt the pot toward the bell. Keep every opening under the surface.
6. Increase speed for the final texture
Once the largest pieces are gone, increase speed for a finer puree or stable emulsion. Stop as soon as the texture is right. Potatoes and other starchy foods can become gluey when their starch is worked too aggressively; mash those by hand unless a recipe specifically calls for blending.
7. Stop before lifting
Release the trigger and wait for the blade to stop completely. Then lift the blender out and let drips fall back into the pot. Rest it on a plate or spoon rest rather than laying a food-covered shaft directly on the counter.
Immersion Blender Speed Guide
| Task | Starting speed | Best movement | Stop when |
|---|---|---|---|
| Chunky soup | Low | Pause in sections | Desired chunks remain |
| Silky soup or sauce | Low, then medium-high | Slow sweep around pot | No visible pieces remain |
| Mayonnaise | Medium-high | Hold still, then lift slowly | Emulsion is thick and uniform |
| Smoothie | Low, then high | Short controlled pulses | Fruit is fully broken down |
| Whipped cream | Low-medium with whisk attachment | Gentle circles | Soft or firm peaks form |
Using an Immersion Blender in Hot Soup
You can blend hot soup directly in the pot, which is one of the tool's biggest advantages. Turn off the burner first and move the pot to a stable, heat-safe surface if practical. Let vigorous boiling settle. Keep the pot no more than two-thirds full, hold the handle with your free hand, and start low with the bell submerged.
Hot-liquid safety: Never lift a running immersion blender through the surface. If the batch is too deep to control comfortably, divide it between containers rather than reaching over a full pot. Keep hands, utensils, loose sleeves, and the cord away from the blade and burner.
Best Containers for Each Job
| Use | Best container | Why it works |
|---|---|---|
| Soup | Deep saucepan or stockpot | Depth keeps the bell submerged. |
| Mayonnaise or dressing | Tall beaker barely wider than the bell | A narrow column forms a fast emulsion. |
| Smoothie | Tall blending cup | Contains splatter and concentrates ingredients. |
| Small sauce batch | Narrow measuring jug | Provides enough depth for the blade guard. |

Common Mistakes and Quick Fixes
- Starting above the surface: Turn the motor off, submerge the bell, then restart low.
- Pumping rapidly: Slow down and let the blade circulate food toward itself.
- Using a shallow skillet: Transfer the food to a narrower jug or deeper pot.
- Blending a nearly full pot: Remove a portion and work in two batches.
- Running continuously for too long: Use short intervals and follow the motor's duty-cycle guidance.
- Scraping the bottom: Lift the bell slightly to improve flow and protect the pot.
How to Clean an Immersion Blender
- Unplug the motor unit before removing the shaft.
- Detach the blending shaft without touching the blade.
- Rinse the bell promptly so food cannot dry around the guard.
- Wash only the parts the manual identifies as washable or dishwasher-safe.
- Wipe the motor body with a damp cloth; never submerge it.
- Dry the shaft completely before reattaching or storing it.
For quick cleanup between similar batches, blend warm water with a drop of dish soap in a tall container for a few seconds, then unplug, detach, rinse, and wash normally. This shortcut loosens residue but does not replace proper cleaning after raw egg, allergens, or raw meat contact.
Choosing the Right Fresko Immersion Blender
The Fresko H7 Variable-Speed Immersion Blender is a focused choice for cooks who want direct trigger-pressure control for soups, sauces, and emulsions. Light pressure helps start gently; firmer pressure increases blending power without stopping to change a dial.
If you also chop, whisk, and blend in a beaker, the Fresko H9 4-in-1 Immersion Blender Set adds those attachments while keeping variable-speed trigger control. New to the category? Read what an immersion blender is and what it can do, then try the technique in our creamy pumpkin soup.
Frequently Asked Questions
How do you use an immersion blender without making a mess?
Use a deep container, fully submerge the bell, start low, move slowly, and release the trigger before lifting it out.
Should an immersion blender touch the bottom of the pot?
Rest the bell on the bottom to position it, then lift it slightly so food can flow underneath. Avoid scraping coated cookware.
Can you use an immersion blender in hot soup?
Yes. Turn off the burner, let vigorous boiling stop, keep the bell submerged, begin at low speed, and do not overfill the pot.
Why does my immersion blender splash?
The bell openings are probably breaking the surface, the starting speed is too high, or the container is too shallow or full.
Do you move an immersion blender up and down?
Use slow, small movements only. Rapid pumping pulls the bell through the surface and causes splatter.
What speed should I use for soup?
Start low to break down large pieces, then increase to medium or high only if you want a finer puree.
Can an immersion blender make smoothies?
Yes, especially single servings in a tall beaker. Cut frozen fruit into manageable pieces and add enough liquid for circulation.
Can an immersion blender replace a countertop blender?
It replaces one for many soups, sauces, dressings, and small smoothies, but a countertop blender is usually better for large batches and very hard ingredients.
Control the Blade, Not the Cleanup
The most important immersion-blender tip is also the simplest: keep the bell under the food whenever the motor is running. Pair that with a deep container and a gentle start, and you can move from chunky to smooth without chasing droplets around the kitchen.
Explore the full Fresko lineup: compare our immersion and hand blenders for single-tool simplicity or an all-in-one prep set.
Aktie:
What Is an Immersion Blender? Uses, Parts, and Who Needs One
Sous Vide Pork Tenderloin: Juicy Results Every Time