

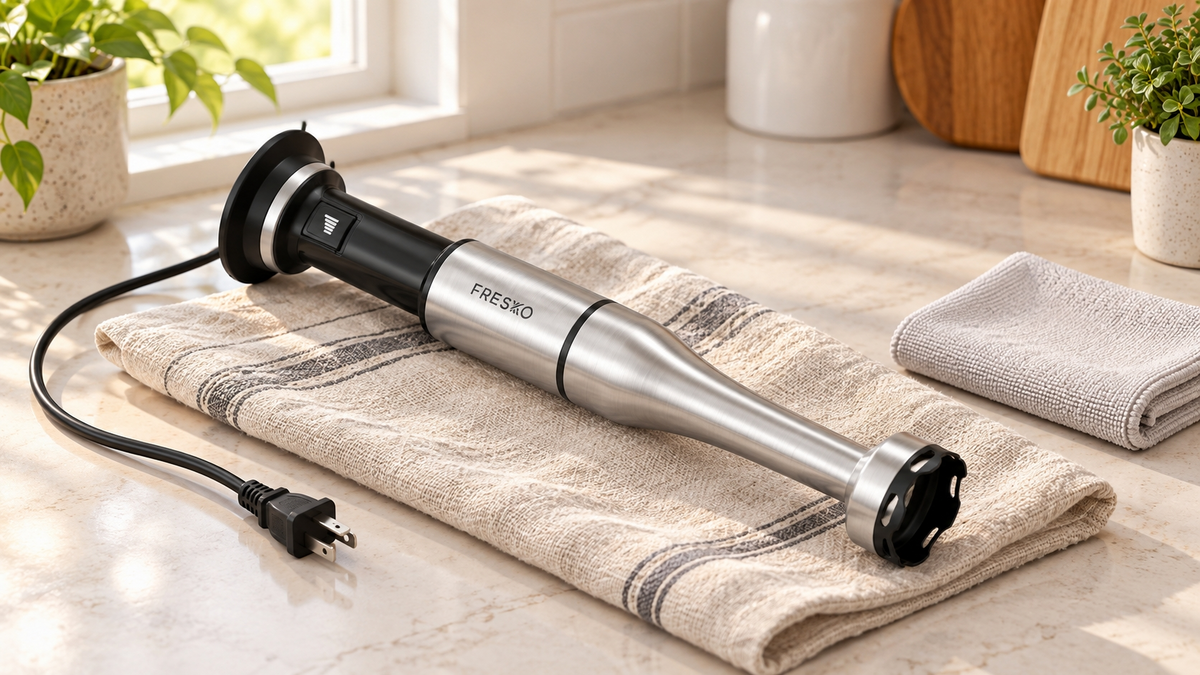
The soup is finished, but a ring of puree is still hiding inside the blade guard. Meanwhile, the whisk and chopper are waiting beside the sink. Can everything go in the dishwasher?
For the FRESKO H9, the answer depends on the part. Several food-contact pieces are top-rack dishwasher-safe; the motor and the two gearbox attachments need a different routine. Separating those groups is the most useful first step.
Quick answer: To clean an immersion blender, switch it off, unplug it, and let it cool. For the FRESKO H9, put the listed dishwasher-safe food-contact parts on the top rack. Wipe the motor and both gearboxes with a clean damp cloth, dry them thoroughly, and store the set somewhere clean and dry.
Jump to: Unplug first · Part-by-part chart · Shaft and guard · Whisk and chopper · Drying and storage

Unplug before care
Release the control and wait until the moving parts stop. Switch off, unplug the appliance, and allow it to cool before cleaning or taking attachments apart. These are separate actions: releasing the trigger does not disconnect the power.
Keep the main body, cord, and plug out of water. The H9 safeguards prohibit immersing the main body or rinsing it under the tap. Place the motor away from the sink while you work on the food-contact components.
Handle the blades carefully, even with the power disconnected. Do not leave a blade hidden under dishes or reach into a guard to scrape away food with your fingers. If food sticks during preparation, stop the appliance before addressing it.
One rule applies across the set: do not use harsh chemical detergents, cleaning powders, or scouring pads. The manual does not offer an exception for a stubborn spot. Avoid turning a small cleanup problem into damage from aggressive scrubbing.
Check the H9 instructions by part
The chart below follows the supplied US H9 instruction manual, version 20251230-H9-US A2, particularly its parts diagram and cleaning section. Check that it matches your unit. These permissions should not be transferred to a different FRESKO model or another manufacturer's blender.
| Component | Confirmed care method | Important distinction |
|---|---|---|
| Main body / motor | Wipe with a clean damp cloth; dry thoroughly. | Do not immerse or rinse under the tap. |
| Blending stick / shaft | Dishwasher-safe, top rack only. | Detach from the motor; handle the blade carefully. |
| Blade guard | Care for it as part of the blending stick. | No separate guard-removal procedure is supplied. |
| Metal egg whisk | Dishwasher-safe, top rack only. | Separate it from its gearbox first. |
| Egg whisk gearbox | Wipe with a clean damp cloth; dry thoroughly. | Not included in the dishwasher-safe list. |
| Chopper bowl and blade | Both dishwasher-safe, top rack only. | Disassemble; take particular care with the sharp blade. |
| Chopper lid | Dishwasher-safe, top rack only. | This is the lid without its separate gearbox. |
| Chopper lid gearbox | Wipe with a clean damp cloth; dry thoroughly. | Do not treat it as the dishwasher-safe lid. |
| Beaker | Dishwasher-safe, top rack only. | No separate wash-cycle temperature is specified. |
| Removable dust/fixing cap | No separate cleaning method is specified. | Not listed as dishwasher-safe; ask support before choosing a washing method. |
The key distinction is the lid versus the lid gearbox. They are separate pieces in the H9 diagram. The same principle applies to the wire whisk and its connector. A dishwasher permission for the food-contact piece does not include the attached drive component.
New to the terminology? See what an immersion blender does for the broader tool overview. This guide stays focused on care after use.
Clean the blending shaft and guard as permitted
For an after-use cleanup, work through this sequence:
- Disconnect and cool. Stop the appliance, unplug it, and let it cool before handling the attachment.
- Detach the blending stick. Use the release illustrated for your unit, keeping hands away from the cutting edges. Do not force a connection that will not release.
- Check the guard visually. Look at the openings and accessible underside for trapped food without touching the blade.
- Use the approved dishwasher placement. Put the detached blending stick on the top rack, keeping the motor out of the dishwasher.
- Check before putting it away. If residue remains, keep the attachment out of use until it has been properly cleaned. Do not pry apart the guard or improvise a blade-removal procedure.

Is the quick water-cleaning method allowed?
Yes. Between processing tasks, the H9 manual describes running the blending end for a few seconds in a beaker half-filled with water. This is a brief powered operation, not hands-on cleaning: keep the motor out of the water and hands clear of the blade. Stop, wait for movement to end, and unplug before disassembly.
The instructions specify water, not a homemade soap mixture. They also do not call this sanitizing or sterilizing. Keep the quick rinse distinct from the part-by-part cleanup, and do not describe it as making the equipment allergen-free.
Follow separate whisk, chopper and beaker rules
Whisk: With the appliance unplugged, remove the gearbox assembly from the main body. The manual then directs you to pull the metal whisk away from its gearbox. The wire whisk goes on the dishwasher's top rack; the gearbox gets a clean damp cloth followed by thorough drying.
Chopper: Separate the main body, lid assembly, blade, and bowl according to the illustrated disassembly. Detach the lid gearbox from the lid. Keep track of that small drive component: the lid can go on the top rack, but the gearbox belongs with the wipe-clean pieces. The bowl and blade are also on the approved top-rack list.
Beaker: Place it on the top rack. Its dishwasher permission does not establish a separate boiling-water, microwave, or sterilizing allowance. No such extra treatment is needed to follow this cleaning guide.
Use the parts diagram when two pieces look as though they belong together. In this routine, separation matters more than speed. You do not need to wash a motor connection simply because food-contact pieces from the same attachment are washable.
Dry and store according to the H9 manual
After wiping the main body and both gearboxes, dry them thoroughly as directed. The manual specifies a clean, dry storage location. For the washed food-contact parts, check that cleaning is complete and that they are dry before putting the set away; no fixed drying time is supplied.
If you are deciding how to store an immersion blender, make room for the individual attachments rather than squeezing everything into one assembled bundle. Keep sharp parts and the cord out of children's reach. Do not wind the power cord around the appliance: the H9 safeguards specifically advise against it.
Where does the dust/fixing cap fit?
The parts diagram identifies a removable cap for dust protection. However, this manual does not provide a step-by-step cap-fitting procedure or a separate washing rule. Do not include it with the dishwasher-safe parts by assumption. Ask FRESKO product support for the correct cap instructions if placement or care is unclear.
To identify the current set and its accessories, see the FRESKO H9 immersion blender. For operating technique rather than care, use the separate guide to how to use an immersion blender without splatter; follow this model-specific chart for H9 cleanup.
The repeatable routine is straightforward: disconnect, separate the parts, use the correct cleaning method for each group, and finish with drying and storage. The important difference is not whether an accessory detaches, but whether it belongs in the top-rack group or the wipe-clean group.
Care reference: FRESKO H9 US instruction manual, version 20251230-H9-US A2, printed pages 1–6 and 8. Check the instructions supplied with your appliance if its revision differs.
Partager:
Immersion Blender vs. Food Processor: Choose by Kitchen Task
How to Prevent Freezer Burn: A Practical Storage Checklist