

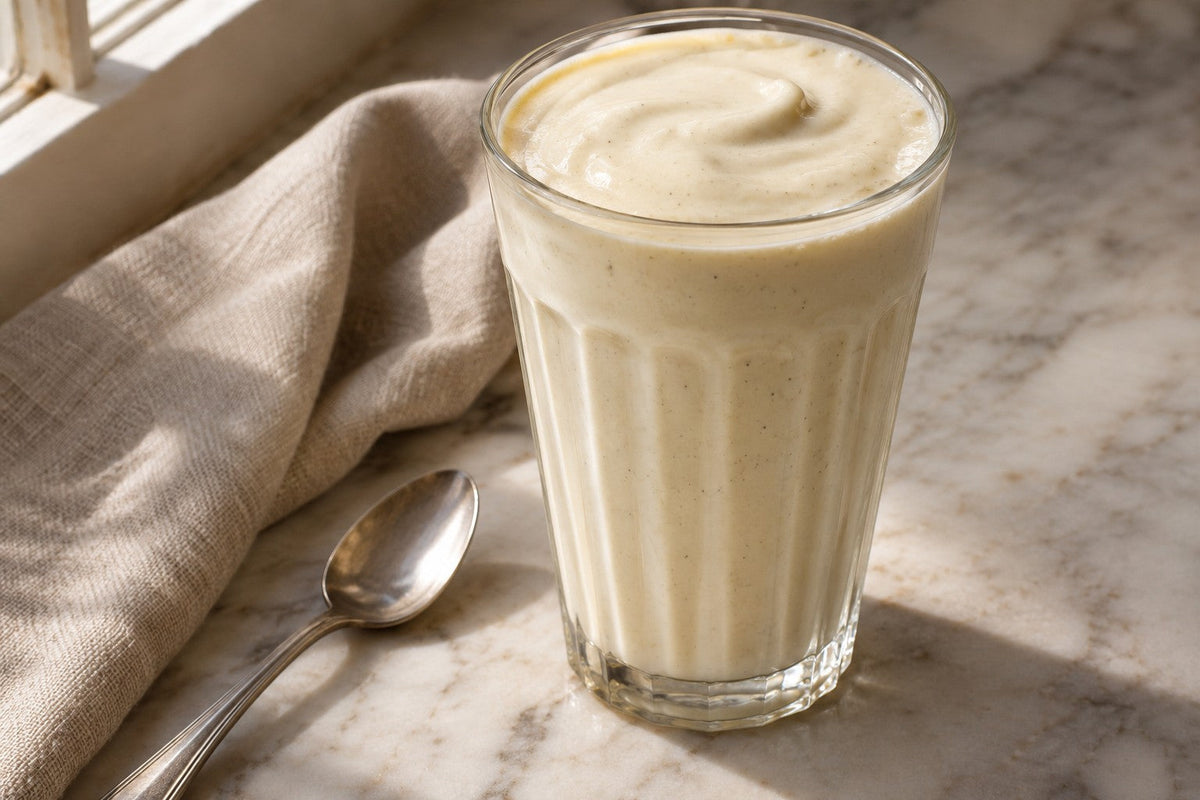
Yes, you can make a milkshake with an immersion blender. For one glass, start with 1 cup of scoopable vanilla ice cream and ¼ cup of cold milk. Use the blending arm in a tall beaker, keep the blade guard covered, and stop when the shake pours in a thick ribbon. No ice cubes needed.
The easiest way to turn a thick shake into a thin one? Pour in enough milk to loosen a rock-hard scoop. Give the ice cream a chance to soften first. A spoon should cut through the center without bending, but the scoop should still hold its shape. That small distinction does more for the texture than another minute of blending.
Jump to the recipe · Choose the attachment · Fix a thin or lumpy shake
Single-serve vanilla immersion blender milkshake
A two-ingredient vanilla ice cream shake, blended just until the last lump disappears. It's thick enough to coat a spoon and loose enough to pour straight into a chilled glass.
Makes: 1 serving · Total time: about , starting with scoopable ice cream · See the finished shake

Ingredients
- 1 cup vanilla ice cream, softened just enough to scoop
- ¼ cup cold whole milk, plus more by the teaspoon if needed
Method
- Set up the beaker. Fit the blending arm onto the unplugged motor. Set the clean beaker on a stable surface. Pour in the milk, then add the ice cream in small spoonfuls instead of a single packed ball. Leave headroom for the blender head and the rising mixture.
- Start below the surface. Plug in the assembled blender. Steady the beaker with one hand and lower the blending arm vertically into the mixture before starting it. With the guard submerged, start gently where the milk meets the ice cream. If the scoop is still too firm for the guard to settle into it, stop and let it soften.
- Blend until the streaks disappear. Make short, shallow passes, keeping the openings in the guard below the surface. As the base starts to circulate, guide the head toward any soft lumps. Stop the motor before lifting the head. Unplug and remove the arm before checking with a spoon.
- Adjust and pour. Lift a spoonful and tip it back into the beaker. If it falls in a slow ribbon, pour the shake into your glass. If it's smooth but too thick to sip, stir in one teaspoon of cold milk. Taste before adding any more. Serve right away.
Use the blending arm, not the whisk
The blending arm draws milk and softened ice cream together around a small blade. The whisk is a better choice for the whipped cream you might spoon on top; it doesn't do the same job on a scoop of ice cream. You don't need a separate chopper bowl for this recipe, either.

If you’re looking at the FRESKO H9 immersion blender, two features matter here: the supplied beaker gives a single serving some depth, and the pressure-sensitive button lets you start gently. A light press is enough to see whether the mixture is moving. Pressing harder won't fix an ice cream lump that's too hard or too far above the blade.
On the H9, allow at least a minute of cooling between operating cycles and never run a cycle longer than one minute. That's a limit, not a target blending time. The H9 US manual, pages 2–4, identifies milkshakes as a blending-arm task and warns against chopping ice. Skip ice cubes, hard frozen fruit, and hard candy pieces here.
Why a beaker works better than a cereal bowl
Picture the same quarter-cup of milk in a wide bowl and a narrow beaker. In the bowl it barely covers the bottom. In the beaker it pools around the ice cream so the blade has something to move. What matters is the depth of the mixture with the ice cream in it, not how high the milk reaches on its own.
Choose a stable, blender-safe vessel wide enough for the guard to move freely, with room above the ingredients. Follow its fill marks. If the guard won’t stay covered, don’t run it exposed or tip a nearly full vessel toward you. Switch to a better-fitting beaker. Save your favorite soda glass for serving; a pretty rim isn't a reason to put a spinning blade inside it.
Read the texture before you add anything
| What you notice | What to do next |
|---|---|
| A thick lump rides above a pool of milk. | Stop and unplug. Remove the arm. Break up the softened lump with a spoon, then remove the spoon before resuming. If the center is hard, wait instead. |
| It's smooth but won't pour. | Stir in a teaspoon of milk. A shake that needs just a little loosening doesn't need another long blending pass. |
| It's thinner than you wanted. | Fold in a spoonful of scoopable ice cream. Blend briefly only if a few soft lumps remain. For the next serving, hold back a little of the milk. |
| The surface is mostly bubbles. | Stop lifting the running head toward the top. Let the foam settle and check the shake underneath before deciding that it needs more ice cream. |
Flavor changes that don't need a harder-working blade
Chocolate: Stir a little chocolate syrup into the measured milk before adding the ice cream. It disperses more evenly than a streak poured over a finished shake. If you use chocolate ice cream instead, try a spoonful of the plain mixture first; it may not need any syrup.
Strawberry: Swirl a teaspoon of smooth strawberry preserves through the finished vanilla shake with a long spoon. Leave the red ripples visible, or stir a little longer for an even pink. This gives you berry flavor without asking the blending arm to break down frozen berries or leaving seeds caught in your straw.
Coffee: Use coffee ice cream in place of vanilla. If you're after a drink that tastes more like coffee than dessert, a cold-brew frappé made with a hand blender starts with chilled coffee as part of the liquid. Avoid pouring hot coffee into this vanilla base: it will melt the scoop before the texture comes together.
Making a second serving?
Pour the first shake before starting the next. For a pair of different flavors, measure two portions of milk and leave the second portion of ice cream in the freezer until you're ready for it. That way the second shake doesn't start with melted ice cream while you're finishing the first. Take the rest break your blender requires between batches.
If you're looking for a breakfast drink rather than an ice cream dessert, the berry yogurt smoothie in our collection of immersion blender recipes is a different starting point. For tonight’s shake, the two ingredients in the beaker are enough.
Image note: The finished milkshake illustration was AI-generated. The H9 set photograph is an official FRESKO product image.
Share:
Vacuum-Sealing Avocado: Halves, Purée, and Browning Limits