
If you've been wondering how to use a vacuum sealer, you're in the right place. Whether you're trying to extend the shelf life of fresh produce, meal-prep for the week, or finally stop throwing away freezer-burned steaks, mastering your vacuum sealer can transform the way you store food — and slash your grocery bill in the process.
In this guide, we'll walk you through everything: how a vacuum sealer works, step-by-step instructions for everyday use, how to vacuum seal liquids and soup, and the most common beginner mistakes to avoid. By the end, you'll be sealing like a pro.
Quick Answer
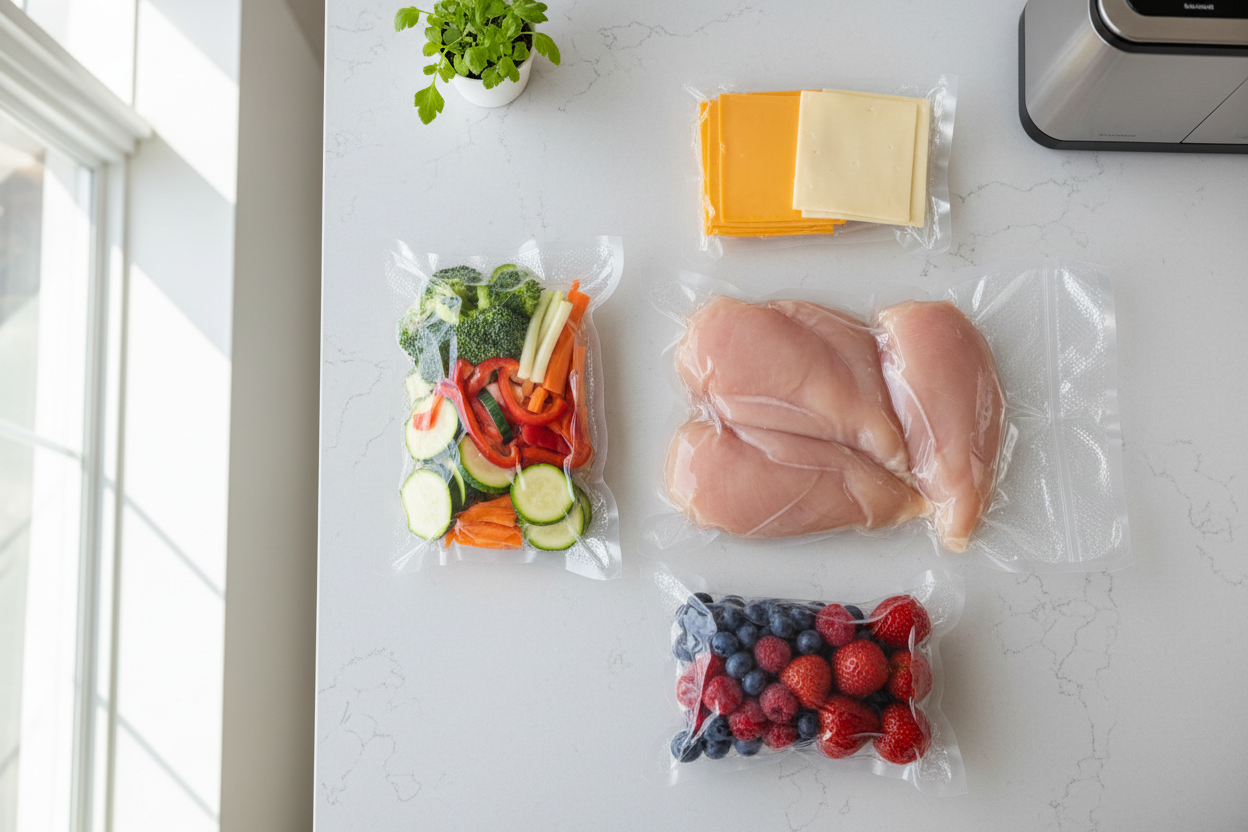
A vacuum sealer removes air from specially designed bags and creates an airtight seal, dramatically slowing down spoilage and freezer burn. To use one: place food in a vacuum seal bag, insert the open end into the machine, and press the seal or vacuum+seal button. The machine does the rest in seconds.
What Is a Vacuum Sealer?
A vacuum sealer — sometimes called a food vacuum sealer or FoodSaver vacuum sealer — is a countertop appliance that uses suction to remove oxygen from a plastic bag before heat-sealing it shut. Without oxygen, the bacteria and mold that cause food to spoil have nothing to thrive on.
The result: fresh proteins last up to 3–5 times longer in the fridge, and freezer life extends from a few months to 2–3 years — all without added preservatives or chemicals.
How Does a Vacuum Sealer Work?

Understanding the science helps you get the most out of the machine.
1. Removes Oxygen
The motor creates a vacuum by pulling air out of the bag through a suction channel. Oxygen is the primary driver of oxidation, which turns fats rancid and causes color and flavor loss.
2. Slows Oxidation
With oxygen removed, enzymatic reactions that degrade flavor, texture, and nutrients are significantly slowed. This is why vacuum-sealed avocado stays green instead of browning.
3. Reduces Moisture Loss
The sealed environment traps natural moisture inside the bag. Meats retain their juices; fruits and vegetables don't dry out as quickly.
4. Helps Prevent Freezer Burn
Freezer burn happens when ice crystals form on the food's surface after moisture escapes the packaging. A vacuum seal eliminates the air gap where those crystals form.
How to Use a Vacuum Sealer: Step-by-Step

Step 1: Choose the right bag. Use bags that are specifically designed for vacuum sealing. Generic zip-lock bags won't work — they need the textured, channel-pattern interior that allows air to be pulled through.
Step 2: Prepare your food. Pat meats dry. Pre-freeze soft or sharp foods (berries, chicken bones) for 1–2 hours to avoid puncturing the bag or squishing delicate textures.
Step 3: Fill the bag. Leave at least 3 inches of empty space at the top opening — the machine needs a clean edge to create a proper seal.
Step 4: Insert into the machine. Lay the open end of the bag flat across the sealing strip. Most vacuum sealers have a built-in channel or lid that clamps the bag in place.
Step 5: Select your setting. Choose "Dry" for most foods, "Moist" for marinated meats or wet foods. Some models offer a "Gentle" or "Pulse" mode for fragile items.
Step 6: Press Vacuum + Seal. The machine will suction out the air, then automatically apply heat to seal the bag. The whole process takes about 10–20 seconds.
Step 7: Label and store. Write the contents and date on the bag with a permanent marker before freezing or refrigerating.
How to Vacuum Seal Liquids and Soups
One of the most common questions beginners ask is how to vacuum seal liquids — and for good reason. Liquid gets sucked into the machine if you're not careful, which can damage the pump.

Here are the two best methods:
Method 1: The Pre-Freeze Method (Recommended)
• Pour your soup, stew, broth, or sauce into the vacuum seal bag.
• Lay flat in the freezer for 1–2 hours until the liquid is fully frozen solid.
• Once frozen, vacuum seal as you normally would — the solid block won't get sucked up.
• Label and return to the freezer.
Method 2: Leave Headspace + Go Slow
• Fill the bag no more than halfway — give liquid plenty of room.
• Tilt the machine slightly upward so liquid flows away from the opening.
• Use the Pulse or manual vacuum mode (if available) to control suction speed.
• Watch closely and press Seal the moment you see liquid approaching the top.
Can you vacuum seal soup? Yes — and it's one of the best uses of a vacuum sealer for meal prep. Vacuum-sealed soup lasts 1–2 weeks in the fridge (vs. 3–4 days unsealed) and up to 3 months in the freezer with excellent flavor retention.
Best Foods to Vacuum Seal

|
Food / Situation |
Suitable? |
Notes |
|
Raw meats & fish |
Yes |
Extends fridge life from 2–3 days to 7–10 days; freezer life up to 3 years |
|
Cheese |
Yes |
Prevents mold growth; hard cheeses seal best |
|
Vegetables (blanched) |
Yes |
Blanch first to deactivate enzymes that cause mushy texture |
|
Cooked grains & pasta |
Yes |
Ideal for meal prep; reheat directly in the bag |
|
Soup & liquids |
Yes* |
Pre-freeze first or use pulse mode to prevent liquid entering machine |
|
Soft berries & fruit |
Yes* |
Pre-freeze 1–2 hours to avoid crushing |
|
Leafy greens |
No |
Too delicate; will be crushed by suction |
|
Carbonated beverages |
No |
CO₂ will prevent a proper seal |
|
Mushrooms & garlic |
No* |
Can produce gases; safe to freeze, but avoid long-term fridge sealing |
Limitations of Vacuum Sealing
A vacuum sealer is powerful, but it's not magic. Here's what it can't do:
• It does not kill existing bacteria — if food is already on its way out, sealing it won't reverse spoilage.
• It does not replace proper refrigeration or freezing — it works alongside your fridge/freezer, not instead of it.
• It doesn't work for all foods — as noted in the table above, some items need special prep or shouldn't be sealed at all.
• Bag quality matters — low-quality bags can develop micro-leaks that defeat the purpose entirely.
Common Mistakes Beginners Make

Mistake #1: Not Leaving Enough Headspace
If your bag is too full, the machine can't create a clean seal. Always leave at least 2–3 inches at the top. This is the #1 reason beginners get weak or incomplete seals.
Mistake #2: Sealing Wet or Moist Foods on 'Dry' Mode
Using the wrong setting for moist foods causes liquid to be sucked into the sealing channel, which can permanently damage the machine. Always switch to 'Moist' mode for marinated, brined, or damp foods.
Mistake #3: Skipping the Pre-Freeze for Liquids
Trying to vacuum seal soup or broth directly without freezing first is the most common way to flood your machine. Even experienced users use the pre-freeze method — it's faster and safer every time.
Mistake #4: Reusing Bags Past Their Limit
Vacuum seal bags can be washed and reused — but only bags that previously held dry foods. Never reuse bags that held raw meat, fish, or liquid. And inspect for pinholes before reuse; a compromised bag breaks the seal within hours.
Mistake #5: Forgetting to Label
Sealed bags look identical in a freezer. Always write the food type, date, and portion size before you freeze. This small habit saves enormous time later and ensures FIFO (first in, first out) rotation.
Expert Tips from Fresko

At Fresko, we've found that batch sealing works best when you block off 30 minutes after a grocery run. Prepping and sealing everything at once — proteins, vegetables, pre-portioned snacks — means your weeknight meals practically assemble themselves.
For long-term freezer storage, we recommend a double seal: after the machine completes its cycle, run a second heat seal 1 cm above the first. This creates redundancy and virtually eliminates the chance of a failed seal showing up months later when it's too late.
If you're sealing marinated meats, pop the bag in the fridge for 30 minutes before sealing. Chilled liquid is less likely to splash toward the machine's suction port — a small trick that saves a lot of cleanup.
Recommended Tools
For best results, use a vacuum sealer with strong, consistent suction, a reliable double-heat seal bar, and wide compatibility with multi-layer vacuum bags. Not all machines are built equal — cheaper models often lose suction power within a year of regular use.
At Fresko, our vacuum sealers are engineered for home kitchens that take food storage seriously. With a wide sealing strip, both Dry and Moist modes, and our specially designed multi-layer bags, you get a commercial-grade seal every time. Browse our full lineup at freskosh.com.
Frequently Asked Questions
How do you vacuum seal liquids without a special machine?
The easiest method is the pre-freeze technique: pour liquid into a bag, freeze flat until solid, then vacuum seal. No special machine required — any standard vacuum sealer handles frozen blocks perfectly.
Can vacuum sealer bags go in the microwave or boiling water?
Many vacuum seal bags are microwave and sous vide safe, but always check the manufacturer's specifications. Look for BPA-free, food-grade polyethylene bags rated for heat. Fresko bags are designed for both freezer storage and sous vide cooking up to 80°C (176°F).
How long does vacuum-sealed food last in the fridge?
It depends on the food. Raw chicken: up to 10 days (vs. 2–3 days unsealed). Hard cheese: 4–8 months. Cooked leftovers: 1–2 weeks. Always use your senses — if something looks or smells off, discard it regardless of the seal date.
Can you vacuum seal already-frozen food?
Yes. In fact, this is ideal — there's no risk of moisture being sucked up, and the food is already stabilized. Just make sure the bag is dry on the outside before inserting it into the machine.
How do I know if my vacuum seal failed?
Press the center of the bag. A proper seal feels rigid with no give — it should feel like pressing on a tight drum. If air pockets remain or the bag feels soft, the seal didn't hold. Re-seal immediately or use the food soon.
Can I use a FoodSaver vacuum sealer with Fresko bags?
Most Fresko bags are compatible with FoodSaver vacuum sealers and other major brands. The channel-embossed texture on our bags works with any external suction vacuum sealer. Check our compatibility page for specifics.
What's the difference between a chamber vacuum sealer and an external vacuum sealer?
External sealers (the kind most home cooks use) suction air from the bag opening. Chamber sealers place the entire bag inside a sealed chamber and remove air from the whole environment — making them ideal for liquids without pre-freezing. Chamber models are larger and more expensive but offer professional results.
How do I clean my vacuum sealer?
Unplug before cleaning. Wipe the exterior with a damp cloth. If liquid entered the sealing channel, open the drip tray (most models have one) and rinse with warm water. Never submerge the machine. Clean the sealing bar with a soft cloth after every session involving moist foods.
Conclusion
Learning how to use a vacuum sealer is one of the most impactful kitchen skills you can develop. Whether you're preserving a weekend harvest, prepping a month of dinners, or figuring out how to vacuum seal liquids and soup for the first time, the process is straightforward once you understand the fundamentals.
Start simple: seal a few portions of raw chicken or leftover soup this week. Once you see the difference in freshness after a week in the fridge, you'll understand why so many home cooks call their vacuum sealer indispensable.
Ready to get started? Explore Fresko's range of vacuum sealers and compatible bags at Freskoshop.com — built for real kitchens, real food, and zero waste.
Aktie:
How Long Does Vacuum Sealed Meat Last? 3-5 Days Fridge, 2-3 Years Freezer
Are Vacuum Sealers Worth It? A Honest Cost vs. Savings Analysis