

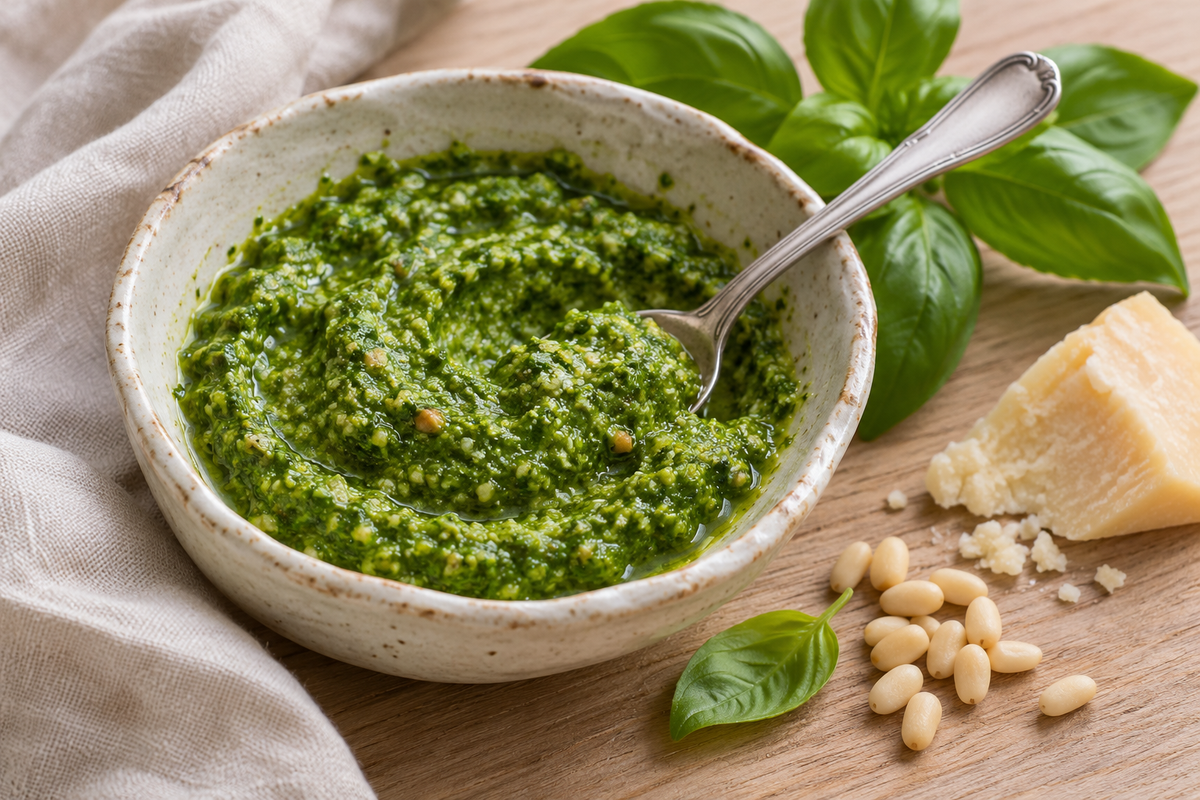
A handful of basil should not turn into a bowl of stubborn leaves—or a completely smooth green paste—before you get to dinner. Good immersion blender pesto starts with a smaller decision: do you want visible pieces of basil and nuts, or a finer sauce that spreads easily?
Can you make pesto with an immersion blender? Yes. For the FRESKO H9, choose the chopper for dry-to-semi-moist ingredient prep and a coarser finish, then stir in oil. Use the blending arm for a wetter, prepared mixture and finer texture. Start with light trigger pressure, pause to inspect, and stop when the texture suits your dish.

Choose the attachment for the texture you want
The H9 chopper and blending arm are not interchangeable containers for the same job. Its US manual describes the chopper as a tool for dry to semi-moist ingredients and specifically lists herbs, garlic, nuts, and hard cheese. The blending arm is intended for sauces and other mixtures with sufficient liquid.
| Setup | Best starting state | Texture goal | Important limit |
|---|---|---|---|
| H9 chopper | Prepared basil, garlic, and nuts; dry to semi-moist | Small, distinct pieces for a rustic topping | Chop components, then stir in oil outside the machine; do not treat the bowl as a liquid blender. |
| H9 blending arm | Pre-chopped ingredients in an adequately wet mixture | Finer, more uniform sauce | Keep the head covered and ingredients circulating; it is not a dry grinder. |
| H9 whisk | Not the choice for chopping pesto ingredients | Use for the whipping tasks in its instructions | A whisk cannot replace a cutting blade. |
These distinctions follow the H9 US manual, edition 20251230-H9-US A2, particularly its blender, chopper, and safety sections. They are not a claim that every immersion blender handles the same ingredients.
A starting mix for small-batch basil pesto
For familiar proportions, Oregon State University Extension's Basic Pesto formula uses:
- 2 cups fresh greens; use basil for this version
- 1/4 cup pine nuts or walnuts
- 3 garlic cloves
- 1/4 cup grated Parmesan
- 1/4 teaspoon salt
- 1/4–1/2 cup olive oil, adjusted for consistency
This is a starting formula, not a measured H9 performance test. Prepare only the amount you expect to use or freeze. Wash the basil, drain it well, and remove tough stems. Peel and pre-cut garlic; use grated cheese rather than asking the blending arm to break down a hard chunk.
For the chopper, follow the manual's approximately 3/4-inch (2 cm) pre-cutting guidance where applicable. Its permission for nuts and hard cheese does not make it a universal grinder for ice, whole spices, or frozen blocks. Keep within the bowl's markings and instructions; divide a larger batch rather than packing it tightly.
For visible texture: chop first, stir in oil last
- Assemble while unplugged. Fit the chopper blade, bowl, and lid as instructed. Handle the blade carefully and make sure the lid is secured before attaching the motor.
- Start with the firmer ingredients. Chop the prepared nuts and garlic with brief presses. Release the trigger to check the size instead of running until they become a paste.
- Add basil in manageable batches. Stop, unplug, and open the chopper before adding or redistributing ingredients. Reassemble securely before restarting. Aim for small green flecks throughout.
- Finish in a separate bowl. Once stopped and unplugged, remove the blade safely before transferring the chopped mixture. Stir in the grated cheese, salt, and oil by hand. Begin at the lower end of the oil range and adjust to your preferred consistency.
This split workflow keeps the H9 chopper in its dry-to-semi-moist role. It also gives you a clear stopping point: the ingredients can be finely chopped without requiring the finished pesto to be perfectly smooth.
For a finer sauce: use the blending arm in a suitable beaker
Making pesto with an immersion blender's main arm needs a different setup. Use a stable, tall vessel that accommodates the entire guard without wedging it against the sides. A wide mixing bowl spreads a small batch too thinly; an excessively narrow jar can restrict movement.
Begin with pre-chopped basil, minced garlic, finely chopped nuts, grated cheese, and enough oil to form a wet mixture. Do not put the arm into a pile of dry nuts and expect the guard to work like a chopper bowl.
Assemble while unplugged, position the head in the ingredients, then start with light pressure. Keep the head below the surface while running. Release the trigger and wait for the blade to stop before lifting it. If ingredients collect around the guard instead of circulating, stop and unplug before redistributing them.
Do not keep adding oil solely to rescue an unsuitable vessel. If the batch is too shallow or the desired pesto is too thick for circulation, finish with the chopper method or chop by hand.
Use the H9 trigger to check progress, not chase a timer
The H9's pressure-sensitive trigger lets you begin gently and increase speed with a firmer press. For pesto, that means you can inspect the texture between short runs instead of committing to full speed from the start. More pressure is an option, not an instruction to keep blending.
Its manual limits operation to one minute per cycle with at least one minute of cooling between cycles. That is an operating limit—not a pesto recipe time. Stop earlier when the ingredients look right, and stop immediately if the machine stalls or strains.

Fix uneven pesto without overprocessing it
| What you notice | What to check | Next step |
|---|---|---|
| Large leaves beside finely chopped nuts | Overpacked chopper or uneven loading | Stop and unplug; redistribute or divide the batch before restarting. |
| Blending arm spins without moving the mixture | Insufficient depth, overly dry ingredients, or unsuitable vessel | Stop; correct the setup or switch methods rather than forcing the blade. |
| Texture is becoming too smooth | Runs are longer than the desired finish needs | Stop now. You cannot restore the original pieces by further blending. |
| Pesto is too loose | Oil was added faster than texture was assessed | Use it as a sauce; next time stir in oil gradually after chopping. |
Refrigerate promptly, or freeze portions
Homemade pesto is not pantry-stable. Follow the National Center for Home Food Preservation's pesto guidance: refrigerate for no more than three days, or freeze for longer storage. Keep the refrigerator at 40°F (4°C) or below.
For freezing, use freezer-safe containers, leave 1/2 inch of headspace, and label the preparation date. Portioning now means you can take out what a meal needs. Adding oil over the surface, sealing a jar, or vacuum packaging does not make homemade pesto shelf-stable. Oregon State Extension notes that there are no researched safe home-canning times for pesto.
Questions about immersion blender pesto
Can I make it without a chopper attachment?
Yes, using the wetter blending-arm method above. Pre-chop the ingredients, use a suitable vessel, and expect a finer finish. For a very thick, rustic pesto, hand chopping is another option.
How small can the batch be?
There is no verified H9 minimum pesto quantity here. The practical check is whether the attachment can engage the ingredients properly without exceeding its limits. A thin smear below the blade is not a workable batch.
For more meal ideas beyond pesto, visit our immersion blender recipe collection. Keep this guide for the attachment choice: chopper for prepared, coarser components; blending arm for a wet mixture and finer sauce.
Method note: This guide is based on the H9 US manual and the food-preservation sources linked above, not an in-house timed appliance test. Follow the instructions supplied with your exact model. The hero food image is AI-generated for illustration; the H9 set image is an official FRESKO product photograph.
Partager:
Sous Vide Turkey Breast: Bag Prep, Thickness and Crisp Skin