

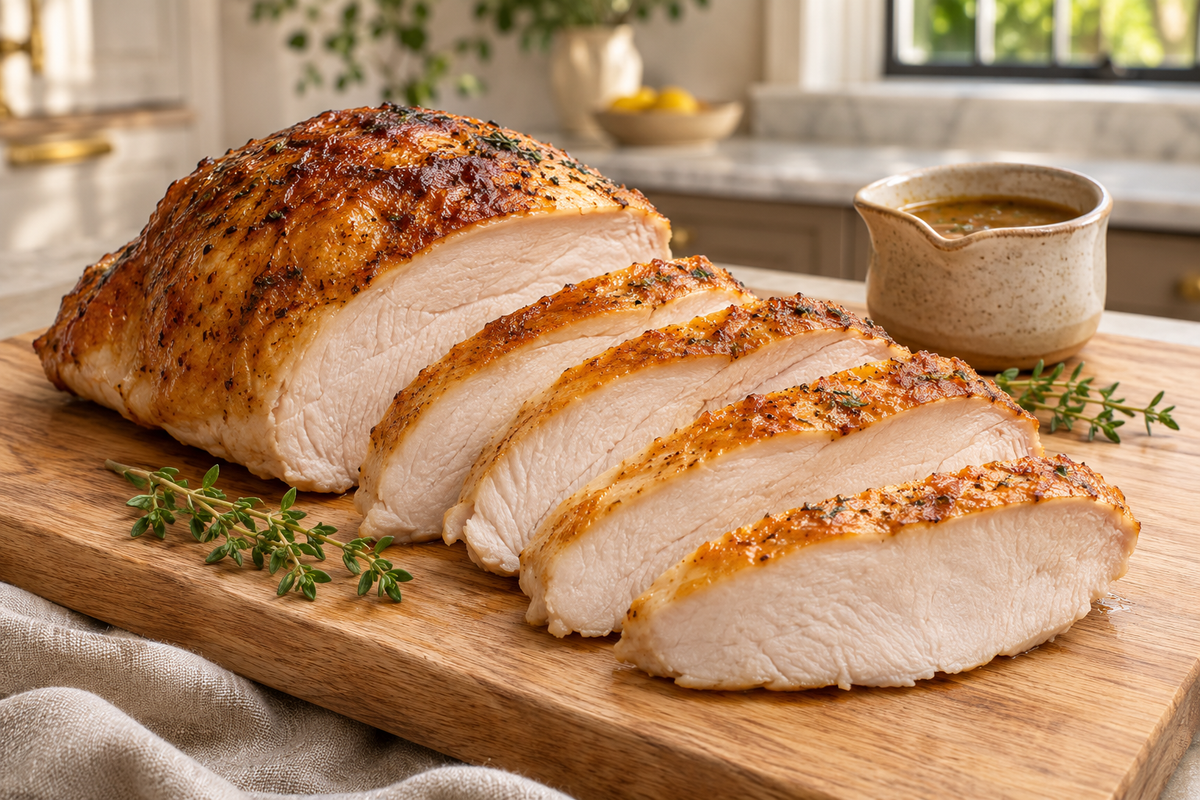
For sous vide turkey breast, choose a cooking schedule that matches the breast’s thickness, shape, and starting temperature—not just its weight. Bag individual boneless portions without overlap, finish the full validated cooking process, then dry the surface. For crisp skin without prolonged searing of the breast, cook the skin separately.

Turkey breast is the part of the holiday bird that needs the most attention to dryness. Sous vide gives you control over the water temperature, but a neat-looking bag and a timer are not a food-safety plan. This guide separates three jobs: preparing a reliable bag, choosing an appropriate cooking process, and adding the browned finish you want.
It covers boneless, unstuffed breast portions. A rolled roast, bone-in breast, or whole turkey needs a process developed for that preparation.
Start with the breast you actually have
Check the package before seasoning. An injected, brined, or otherwise enhanced turkey breast already contains added ingredients; treating it like an unseasoned breast can make dinner unnecessarily salty. Keep the original label until you have finished planning.
Ask the butcher for separate boneless breast halves if removing the breastbone is outside your comfort zone. For a separate crisp-skin finish, ask for the skin to be retained in a reasonably intact piece. Keep it refrigerated while you prepare the meat.
| What you have | What to check before cooking |
|---|---|
| Boneless, unrolled breast | Measure the thickest part after it is arranged in the bag. Keep separate portions from overlapping. |
| Rolled or tied roast | Use instructions for that rolled shape and diameter. Do not borrow a flat-breast schedule. |
| Bone-in breast | Use a bone-in preparation and inspect the packaging around exposed bone. |
| Frozen breast | Use a verified frozen-start process, or thaw safely before following a refrigerated-start process. |
For a simpler first attempt, thaw in the refrigerator instead of improvising an extra hour in the bath. USDA advises against counter thawing; turkey thawed in the refrigerator can remain there for one to two days before cooking. See USDA’s turkey-thawing guidance.
Sous vide turkey breast: temperature is only half the decision
USDA’s straightforward home-cooking recommendation is a minimum internal temperature of 165°F (74°C), measured in the thickest part of the breast. The water-bath display does not tell you the temperature at the center of the meat. See USDA’s turkey-temperature guidance.
Lower-temperature sous vide requires a validated time–temperature process, including the time needed to heat the center. A temperature selected for tenderness is not, by itself, proof that poultry is safe to serve. If you cannot establish that the process matches your food and equipment, follow a cooking method that allows you to verify the USDA endpoint.
A thickness table for planning—not a universal timer
Douglas Baldwin’s published poultry table illustrates how much thickness matters. These examples use a 149°F (65°C) bath, food initially at 41°F (5°C), and the source’s modeled 2:3:5 box shape. Times include heating and pasteurization; they are not additional holding times after the center heats.
| Thickness | Published total bath time |
|---|---|
| 30 mm / approximately 1.2 inches | 1 hour 15 minutes |
| 40 mm / approximately 1.6 inches | 1 hour 45 minutes |
| 50 mm / approximately 2 inches | 2 hours 15 minutes |
| 60 mm / approximately 2.4 inches | 3 hours |
Read the full source before using a schedule. Colder or frozen starts, different geometry, stacked portions, stuffing, and bone-in pieces are not interchangeable with these examples. Do not warm raw turkey on the counter to match the table. Source: Douglas Baldwin, Table 4.1 and poultry guidance.
Record the breast’s preparation, measured thickness, starting condition, selected temperature, and source before dinner preparations become busy. That small note is more useful than remembering that a similar-looking breast “took about three hours.”
Choose the bag, then protect the seal
A vacuum sealer prepares the package; it does not heat the water or cook the turkey. You still need a suitable sous vide cooker, a water vessel, and a reliable food thermometer. Use food-contact bags specifically permitted by their manufacturer for your intended cooking temperature and duration.
- Fit the portion before cutting. Allow room for the breast and the clean sealing margin required by your machine. An overly tight opening makes it harder to load the food without smearing the sealing area.
- Keep the opening clean. Fold the mouth outward while loading, then unfold it before sealing. Keep raw juices away from the machine’s vacuum channel and electrical parts.
- Arrange one even layer. Do not fold a thin tail over the thick end or stack two breasts to make the bag smaller. Measure the final arrangement, not the portion before packaging.
- Seal using your machine’s instructions. Inspect the seam for wrinkles, food, moisture, or gaps. A visibly compromised seal needs correcting before the package enters the bath.
For the full setup sequence, use our sous vide bag-preparation guide. This article focuses on the extra decisions that matter for turkey breast.
Cook first, then build the browned finish
Keep the cooking setup consistent
Preheat the water according to your selected process. Position the bags so water can circulate around them, with the food fully submerged and the cooker’s intake unobstructed. Follow the source’s timing instructions and the cooker’s water-level requirements. If the bath loses temperature or the bag leaks, do not assume the original timer still proves the turkey is ready.
Complete the cooking process before treating browning as a finishing step. A quick sear is not a substitute for adequate heating of the breast’s center.
Dry the breast; crisp the skin separately
Open the cooked bag over a suitable container and transfer the breast with clean utensils. Pat the surface thoroughly dry with paper towels. If you want additional browning on the meat, use a hot skillet and watch the surface rather than adding an arbitrary long sear.
For the separate skin, J. Kenji López-Alt’s method spreads it on a parchment-lined rimmed sheet, seasons it, and uses another parchment sheet and baking sheet to hold it flat. His oven setting is 400°F, with approximately 30–45 minutes until crisp. Follow the complete original crisp-skin method for that component; watch closely because thickness and ovens vary.
Serve the crisp pieces alongside the sliced breast rather than covering them with gravy. This separates the two textures instead of asking one long pan-sear to achieve both.
Plan leftovers without inventing a longer vacuum-sealed shelf life
This is a cook-and-serve guide, not a validated extended-storage cook-chill process. For leftovers, divide turkey into smaller portions in shallow containers and refrigerate promptly. Keep the refrigerator at 40°F or below; refrigerate within two hours, or one hour above 90°F ambient temperature. Use refrigerated leftovers within three to four days, or freeze them. An unopened home-sealed bag does not create a new storage deadline. See USDA’s leftover-handling guidance.
Reheat leftovers to 165°F throughout, checking several places with a food thermometer, as directed in USDA’s reheating guidance. Re-crisp skin separately if desired; appearance alone cannot confirm safe reheating.
Quick questions
Do I have to vacuum seal turkey breast?
No. Some sous vide preparations use an appropriate zipper bag and water displacement. The bag must be permitted for the cooking conditions, stay securely closed, and keep the food submerged. Vacuum sealing is a packaging choice, not the safety control that replaces cooking.
Can I use the turkey-leg time for breast meat?
No. This guide concerns breast portions. Do not substitute a leg recipe’s preparation, timing, or finishing instructions for a breast-specific process.
Can I prepare the bag ahead?
Yes, within the turkey’s existing refrigerated storage limits. Record the original purchase or thawing date as well as the planned cooking process. Sealing does not reset that clock or make raw turkey shelf-stable.
Editorial note: This is a source-based preparation guide, not a FRESKO kitchen-test report. Food imagery is AI-generated for illustration; the product image comes from FRESKO. Images do not demonstrate measured doneness or validated cooking results.
Partager:
How to Use an Immersion Blender for Smooth Gravy
Immersion Blender Pesto: Small-Batch Texture with the Right Attachment