

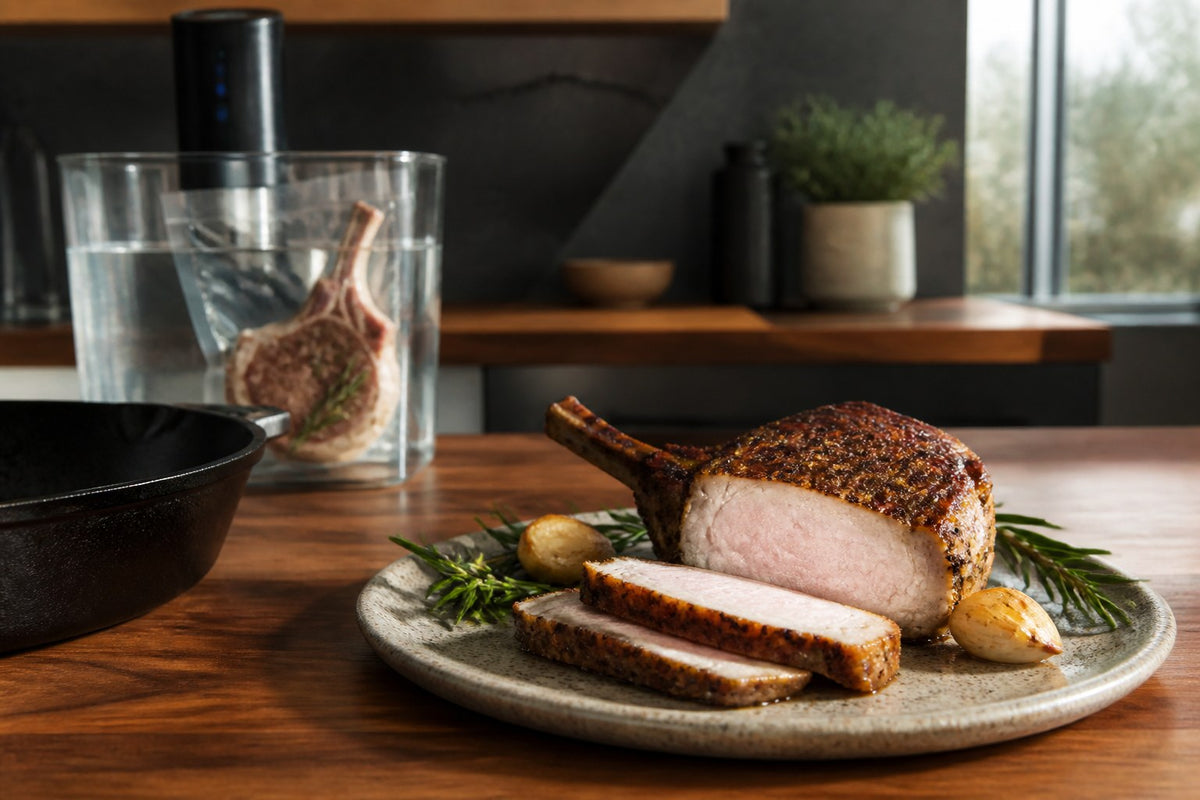
Quick answer: For a straightforward home method, aim for a pork chop internal temperature of 145°F (63°C), followed by at least a three-minute rest. Use a 146°F (63.3°C) sous vide bath to leave a small heating margin, allow enough time for the chop’s thickness, then dry and sear. A bath setting or timer alone does not confirm the center temperature.
A pork chop can have a beautifully browned crust and still be disappointing inside. Sous vide separates the two jobs: controlled water heats the meat; a short skillet finish builds the crust. The useful question is not simply “How many hours?” It is how thick the chop is, how cold it starts, and whether its center has reached your intended endpoint.

Sous Vide Pork Chops at a Glance
| Yield | Prep | Bath setting | Internal endpoint | Finish |
|---|---|---|---|---|
| 4 pork chops | About 10 minutes | 146°F / 63.3°C | At least 145°F / 63°C, measured | Dry, sear, then rest at least 3 minutes |
The Best Sous Vide Pork Chop Temperature
For safety: USDA’s consumer guidance for whole pork chops is a measured internal temperature of at least 145°F before removing the meat from the heat, followed by a minimum three-minute rest. This is a center-temperature requirement—not a water-bath setting. See the USDA safe minimum temperature chart.
For texture: Pork around this endpoint has a tender, meaty bite; a 150°F (65.6°C) bath produces a firmer result. Pinkness varies with the meat and is not a reliable doneness test. Some chef recipes use lower temperatures for a softer texture, but those require an appropriate time-and-temperature pasteurization process. Do not treat this chart as permission to shorten a lower-temperature cook.
Why 146°F rather than a 145°F bath? The center approaches the surrounding water temperature gradually. That small extra degree gives it room to reach 145°F; it is not a substitute for an accurate thermometer. Check each chop from the side into its thickest center, avoiding bone, fat, and gristle, as described in USDA’s thermometer guidance.
Sous Vide Pork Chop Time and Thickness Chart
These are planning estimates, not guaranteed safety times, for separate, flat, intact loin or rib chops starting refrigerator-cold, approximately 40°F (4°C), in a fully preheated circulating bath. Measure through the thickest meat, not along the bone. Do not stack chops or tightly crowd bags.
| Chop thickness / condition | Bath | Approximate heating window | Typical sear per side | Application |
|---|---|---|---|---|
| 1/2–3/4 inch | 146°F / 63.3°C | About 1 hour | About 30 seconds | Thin chops; watch the skillet closely |
| 1 inch | 146°F / 63.3°C | About 1 1/4–1 1/2 hours; plan toward the upper end | 30–45 seconds | Regular loin chops |
| 1 1/4–1 1/2 inches | 146°F / 63.3°C | About 2–2 1/2 hours | About 45 seconds | Thick chops; allow the longer time near 1 1/2 inches |
| 2 inches | 146°F / 63.3°C | About 3 1/2–4 hours | 45–60 seconds | Double-cut chops; center-temperature check is essential |
| Frozen chops | Use a thickness-specific frozen-food schedule | Do not apply one universal “add 45–60 minutes” rule | After heating and drying | For this table, thaw safely in the refrigerator first |
The heating windows are rounded planning ranges informed by Douglas Baldwin’s thawed, slab-shaped meat heating table, which estimates time to within 1°F of the bath. They are not his pasteurization table. Real shape, thickness, starting temperature, and circulation can change the result. The measured endpoint takes priority over the clock.
Bone-in versus boneless: Both work. A bone is not a reason to select a different target temperature. Use the actual thickest meat measurement, protect sharp edges, and allow more time if an irregular chop does not fit the flat-cut assumptions. This chart does not cover rolled, stuffed, ground, or mechanically tenderized pork.
Frozen versus refrigerated: Frozen meat takes longer to heat, and the extra time changes with thickness. Use a suitable frozen schedule rather than extrapolating this table. For a simple dinner plan, thaw the sealed chop in the refrigerator and follow the refrigerated method. Follow USDA’s safe thawing guidance; do not thaw it on the counter.

Ingredients and Equipment
- 4 center-cut pork chops, bone-in or boneless, preferably 1–1 1/2 inches thick
- 1 1/2 teaspoons Diamond Crystal kosher salt, or about 1 teaspoon fine salt
- 1 teaspoon black pepper and 1/2 teaspoon garlic powder
- 1 tablespoon neutral high-heat oil, such as canola or avocado oil
- Optional for finishing: 1 tablespoon unsalted butter, 2 rosemary or thyme sprigs, and 1 smashed garlic clove
You will need an immersion circulator, heat-safe water container, cooking-rated bags, a compatible vacuum sealer or suitable zipper bag, an accurate food thermometer, paper towels, tongs, and a heavy skillet. Keep raw-meat utensils separate from the plate used for cooked pork.
How to Make Sous Vide Pork Chops: Seal, Cook, Dry, Sear
1. Season and seal in one layer
Start preheating the bath to 146°F. Pat the chops dry and season with salt, pepper, and garlic powder. Fold the bag opening back while loading so meat juices stay away from the sealing area. Leave the clean headspace required by your sealer, then unfold, wipe dry, and seal without wrinkles.
Use separate bags or leave space between chops. Inspect any sharp bone and use an appropriate food-safe bone guard or protective packaging recommended for cooking. Check the seal and bag for damage before immersion. Our sous vide vacuum-sealing guide explains bag selection and loading in more detail.
2. Cook by thickness, then check the center
Once the bath is at temperature, submerge the food completely and keep space around each bag for circulation. Secure bags so they cannot float away from the water. Maintain the circulator’s required water level, covering the container if appropriate for the equipment.
Use the chart to plan, then check each chop’s center temperature with a clean thermometer. If it has not reached 145°F, continue cooking in a sound, resealed bag or finish cooking it in the skillet. Never rely on a browned surface to prove the middle is ready.
3. Dry every surface
Remove the pork from the bag and blot the sides and edges thoroughly with paper towels. A wet surface steams before it browns. Have the skillet ready so cooked chops are not left waiting while you organize the rest of dinner.
4. Sear briefly, then rest
Heat a heavy skillet, add a thin film of oil, and sear until browned—usually around 30–60 seconds per side, depending on thickness and pan heat. Use tongs to brown the fat edge. Add optional butter, herbs, and garlic near the end to limit burning.
Confirm a center temperature of at least 145°F before the final removal from heat, then rest for at least three minutes. If the center needs more cooking, continue; the short searing window is a texture goal, not a safety limit.

Common Questions and Fixes
Can I leave pork chops in the bath all day?
Not for the same texture. Long holding can soften lean pork until it loses its clean, meaty bite. Anova’s pork chop guide describes declining resilience around four hours. That is a quality observation, not a universal safety deadline. Choose thinner chops when a thick cut would require an inconveniently long cook.
Do I need a vacuum sealer?
No. A bag rated by its manufacturer for the cooking temperature can also use water displacement: lower the filled bag slowly to push out air and close it above the waterline. Vacuum sealing is convenient for repeat portions, but it does not sterilize pork or remove the need for refrigeration.
Why is the crust pale, or the outside overcooked?
Dry more thoroughly, avoid crowding the pan, and let the skillet recover between batches. Start checking browning early on thin chops. Butter is optional; adding it at the finish gives you more control than putting a large amount in the cooking bag.
Choose the Flavor; Keep the Method Consistent
For a rosemary-and-thyme variation with a side dish, see our herb pork chop recipe. Use that page for seasoning inspiration and this guide for thickness planning, the measured 145°F endpoint, and the minimum three-minute rest.
For bags that fit individual portions, browse Fresko vacuum sealer bags and rolls. The collection includes pre-cut bags and customizable rolls described for sous vide use. Follow the exact bag and sealer instructions, especially around sharp bones and the sealing area.
Share:
How to Prevent Freezer Burn: Causes, Fixes & Storage Guide
A Creamy Pumpkin Soup with a Festive Touch