

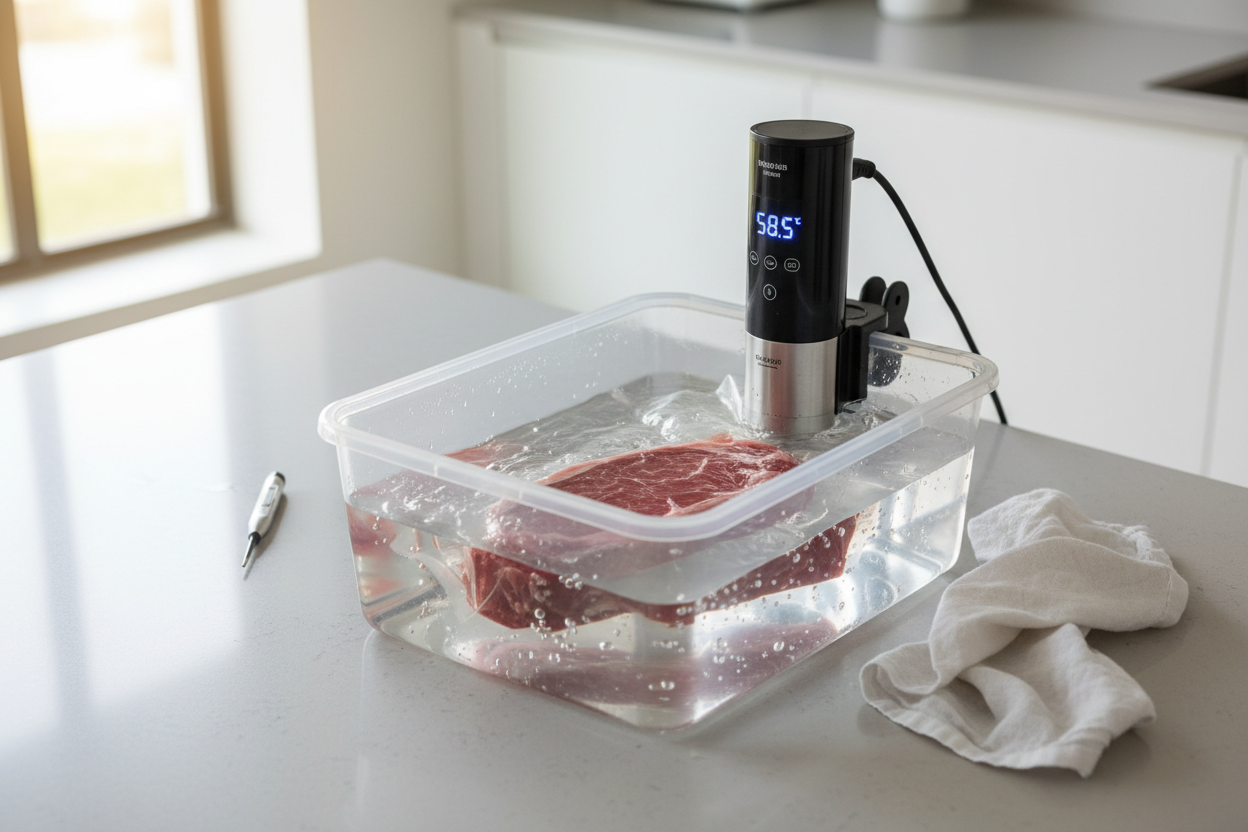

You finally invest in a sous vide immersion circulator, set it to a perfect 131°F for a 24-hour short rib, and three hours in you notice the bag has floated to the surface, ballooned with trapped air, and the meat is barely touching the water. Or worse — you open the bag after cooking and there's a puddle of gray, watery liquid where a rich, juicy piece of meat should be.
Neither of these is a sous vide problem. They're vacuum sealing problems. Sous vide cooking depends entirely on airtight, direct contact between the food and the water bath, and most of the disappointing results people blame on their circulator actually trace back to how the bag was sealed. Below are the mistakes we see most often, and what to do instead.
Do You Need to Vacuum Seal for Sous Vide?
Technically, no — you can use the water displacement method with a good-quality zip-top freezer bag, slowly lowering it into water until the pressure pushes the air out before sealing the top. It works reasonably well for quick, single-portion cooks.
But a proper sous vide vacuum sealer removes air far more completely and consistently, which matters more the longer and more precisely you're cooking. For anything over a couple of hours, for liquid-heavy marinades, or for batch cooking multiple portions at once, vacuum sealing isn't a luxury — it's what keeps your results predictable. Trapped air is an insulator; even a small pocket slows heat transfer to that part of the food and creates uneven doneness.
Why Sealing Quality Matters More Than People Expect
A sous vide bath only works because water conducts heat efficiently and directly. Every air bubble between the bag and the food is a small buffer that has to heat up before the food underneath it does. Over a 45-minute steak that barely matters. Over a 24-hour brisket, it can mean a noticeably uneven finish from one end of the cut to the other.
Sealing quality also affects safety, not just texture. The FDA identifies 40°F–140°F as the "danger zone" where bacteria multiply fastest, and low-and-slow sous vide cooking spends real time in the lower half of that range before pasteurization occurs. An underinflated seal that lets water seep in, or a bag that isn't food-grade, introduces risk that has nothing to do with your time and temperature settings.
Mistake 1: Overfilling the Bag

The problem: Cramming too much food into one bag — or trying to seal a bag that's too small for the cut — leaves no room for the sealer to draw out air evenly. You end up with pockets around the food and a bag that's straining at the seal line.
The fix: Leave at least 3 inches of empty bag above the food line before sealing, and size your bag to the cut rather than the other way around. If you're cooking multiple pieces, portion them into separate bags rather than one crowded one — it also means more consistent contact with the water on all sides.
Mistake 2: Vacuum Sealing Liquids and Marinades the Wrong Way

The problem: A standard vacuum sealer pulls air out fast, and if there's a marinade, broth, or juicy fruit in the bag, that suction pulls liquid straight into the machine — clogging it and often ruining the seal entirely.
The fix: Freeze marinades or sauces into a solid block first, or use a sous vide vacuum sealer with a manual/pulse mode or a dedicated "moist" setting that seals in shorter bursts, giving you more control before liquid reaches the seal strip. Tilting the open end of the bag slightly upward during sealing also buys a few extra seconds.
Mistake 3: Using the Wrong Bags
The problem: Not all plastic is created equal. Regular sandwich bags, generic storage bags, or off-brand rolls with a thin gauge can develop pinholes under vacuum pressure or aren't rated for sustained heat exposure — both of which let water in during a long cook.
The fix: Use sous vide vacuum sealer bags that are explicitly BPA-free and rated for water bath temperatures, typically up to at least 195°F. Thicker, textured (embossed) bags designed for external vacuum sealers create the channels the machine needs to pull air out fully; smooth bags meant for other uses often don't seal as reliably.
Mistake 4: Skipping the Air-Removal Step Entirely
The problem: Some cooks assume any sealed bag is "vacuum sealed" as long as the top is closed. A bag that's zipped or heat-sealed without air actively removed will float, cook unevenly, and in the worst case let food sit partially out of the water for the entire cook.
The fix: If you don't own a dedicated vacuum sealer for sous vide cooking, use the water displacement method properly: place the food in a zip-top bag, seal it almost all the way, then slowly submerge it in a pot of water so the water pressure pushes the remaining air out through the small opening before you seal the last inch.
Mistake 5: Not Checking the Seal Line Before Cooking
The problem: A wrinkle in the bag, a stray piece of food, or a bit of moisture right on the seal strip can create a weak spot that looks sealed but isn't. It often doesn't fail until hours into the cook — right when you're not checking on it.
The fix: Wipe the top inch of the bag dry before sealing, keep that area flat and free of food, and do a quick visual check for a continuous, even seal line with no gaps or bubbles. A 10-second check before it goes in the water saves a ruined cook later.
Mistake 6: Sealing Bags with Sharp-Edged Bones or Ingredients
The problem: Bone-in cuts, shellfish shells, or anything with a sharp edge can puncture the bag during sealing or later while it's submerged and moving gently in the water bath.
The fix: Pad sharp edges with a folded paper towel between the bone and the bag wall, or wrap the item in plastic wrap as a buffer layer before placing it in the sous vide bag. Double-bagging is also a reasonable safety net for bone-in cuts on long cooks.
Mistake 7: Reusing Bags Without Considering What's Left Inside
The problem: Vacuum sealer bags are often reusable for dry, non-perishable storage, but reusing a bag that held raw meat or marinade for a new sous vide cook — without washing and fully drying it first — risks cross-contamination and can also compromise the next seal.
The fix: Reserve reused bags for dry goods or already-cooked food, and always start raw proteins in a fresh bag. If you do wash and reuse bags for sous vide, make sure they're completely dry before resealing, since trapped moisture affects seal integrity.

Vacuum Sealing Methods Compared
| Method | Air removal quality | Good for liquids/marinades | Best for |
|---|---|---|---|
| External vacuum sealer | High — consistent, near-complete air removal | Needs pulse/moist mode | Everyday sous vide, batch cooking, longer cooks |
| Chamber vacuum sealer | Highest — handles liquid without clogging | Yes, natively | High-volume or frequent liquid-heavy cooking |
| Water displacement (zip-top bag) | Moderate — depends on technique | Workable with care | Occasional, single-portion, shorter cooks |
| Zip-top bag, air pressed out by hand | Low — air pockets likely remain | Not recommended | Not recommended for sous vide |
FAQ
Do you need a vacuum sealer for sous vide, or does a zip-top bag work? A zip-top bag with the water displacement method can work for shorter, single-portion cooks. For longer cooks, batch cooking, or anything with marinade, a dedicated vacuum sealer gives more consistent results.
Can I vacuum seal raw meat directly for sous vide? Yes — raw meat, poultry, and fish are commonly vacuum sealed directly for sous vide. Just make sure the bag is rated for the water bath temperature and pat the surface dry first so the seal isn't compromised by surface moisture.
Why does my vacuum-sealed bag float in the water bath? Usually residual trapped air, either from an incomplete seal or from gas released by the food itself during early cooking. Adding a few clean, food-safe metal weights, or a rack that holds bags fully submerged, solves this without affecting the seal.
How long can food stay in a vacuum-sealed sous vide bag before cooking? Treat it like any raw or marinated food — keep it refrigerated below 40°F and cook within the same guidelines you'd follow for unsealed food, generally 1–2 days for most raw proteins unless you're freezing it for longer storage.
What bags are safe to use in a sous vide water bath? Look for bags explicitly labeled BPA-free and heat-resistant for water bath cooking, typically rated to at least 195°F. Avoid thin, generic storage bags not designed for sustained heat exposure.
Getting a clean seal is most of the battle in sous vide — the circulator just holds the temperature steady once the bag is doing its job. If you're comparing vacuum sealers for sous vide cooking, look for one with a dedicated moist or pulse mode; it's the single feature that makes marinated cooks far less frustrating.
Share:
Do You Need a Vacuum Sealer for Sous Vide? (2026 Guide)
Best Vacuum Sealers for Sous Vide Cooking (2026 Guide)