

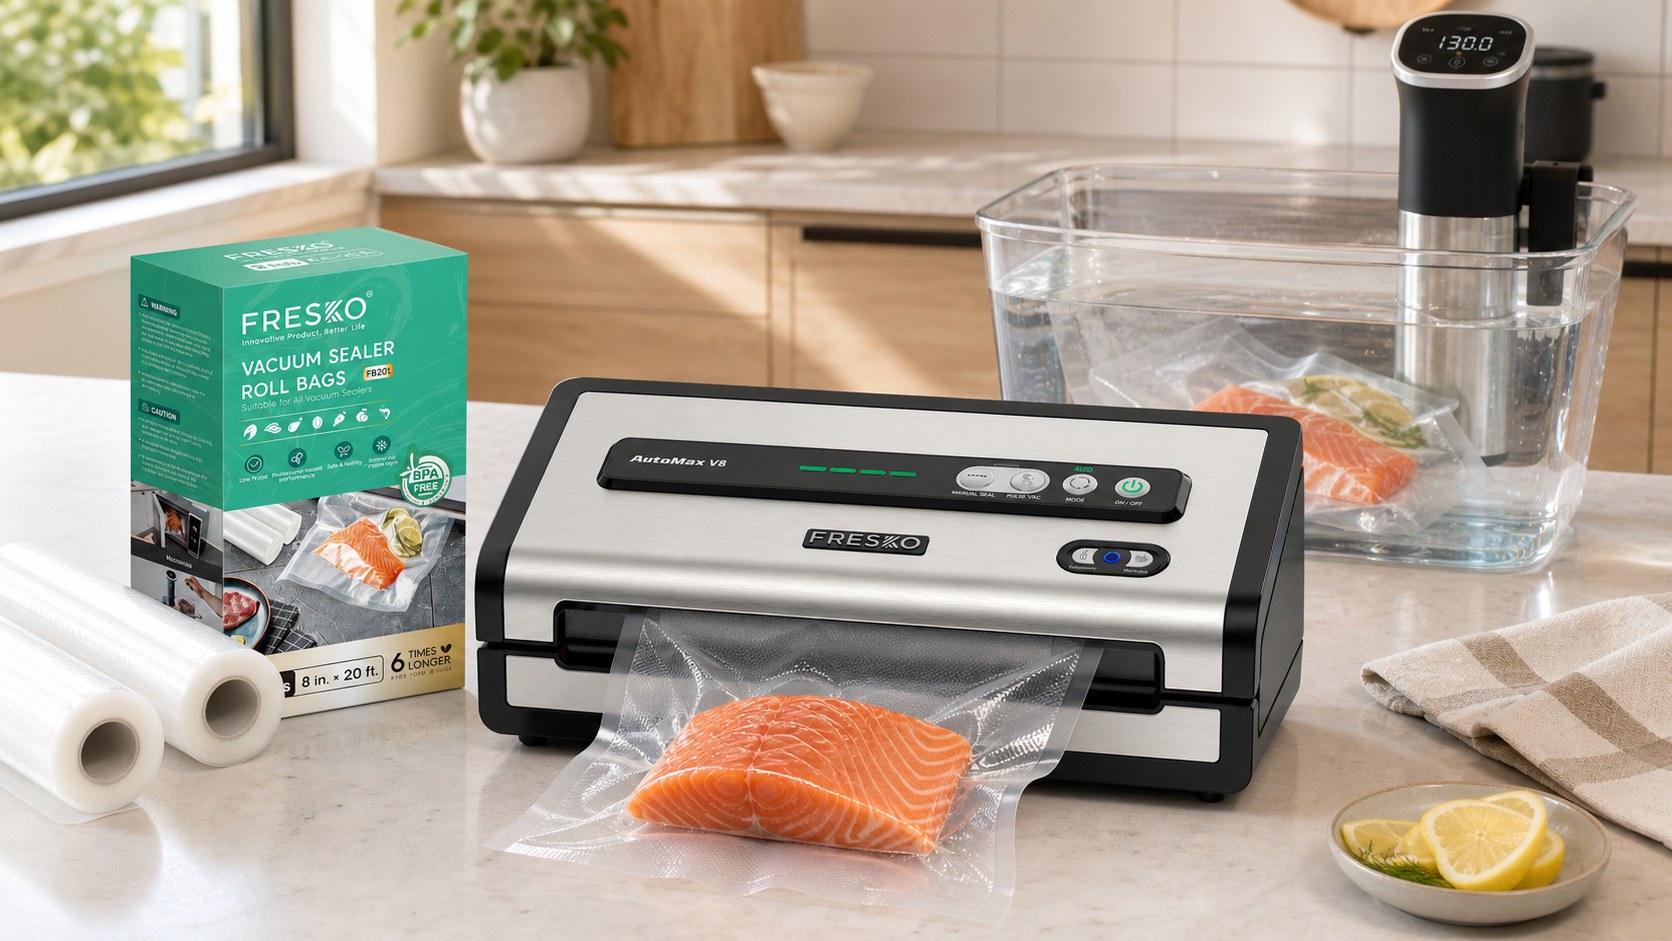
Quick answer: No, you do not need a vacuum sealer to cook sous vide. For many steaks, chicken breasts, fish fillets, and other relatively short cooks, a sturdy freezer-grade zip-top bag plus the water-displacement method works well. A sous vide vacuum sealer becomes worth it when you cook often, batch-prep from the freezer, tackle long or higher-temperature cooks, or simply want fewer floating bags and more dependable seals.
In other words, a sealer is an upgrade—not an entry fee. What matters most is that your food stays in a food-safe, heat-rated package with very little trapped air and consistent contact with the water bath. Here is how to choose the right method for the way you actually cook.
Do You Need to Vacuum Seal for Sous Vide?
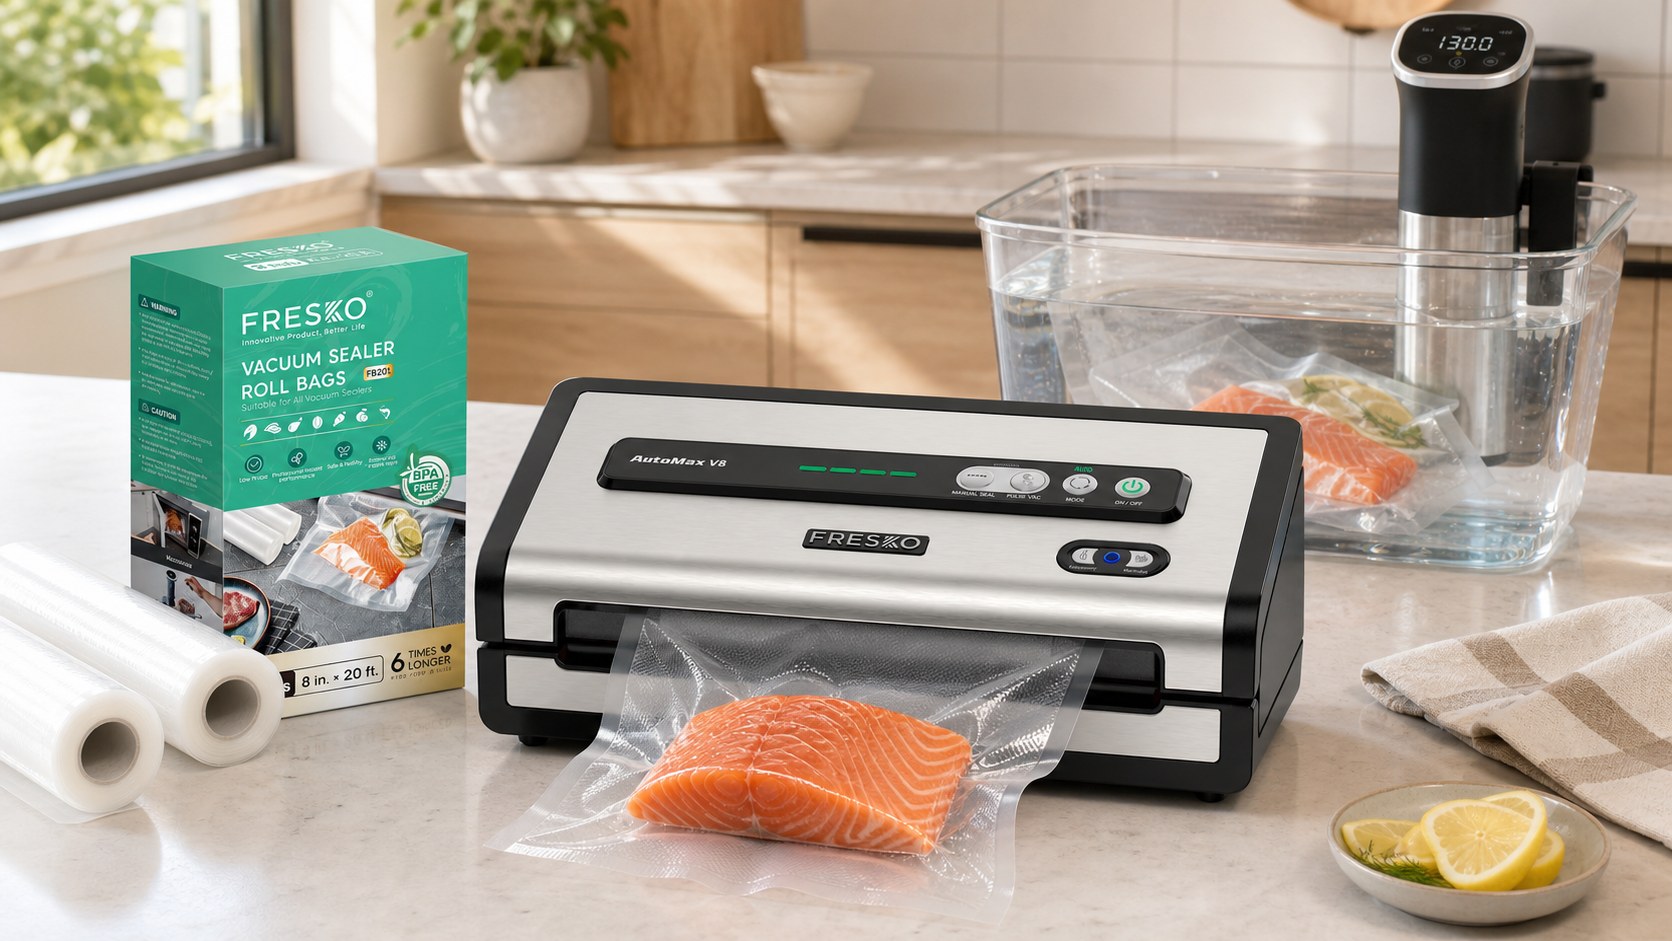
Despite the name—sous vide is French for “under vacuum”—the technique does not require a laboratory-level vacuum. The package has four jobs: keep water out, keep juices in, remove insulating air pockets, and hold the food under the waterline. A zip-top freezer bag can do those jobs for an occasional weeknight cook.
A vacuum sealer does them more consistently. It pulls most of the air from the bag, draws the film close to the food, and heat-seals the opening. That tighter package is easier to submerge, organize, label, freeze, and cook later. It is especially useful when a failed zipper or floating bag would ruin an overnight cook.
| Cooking situation | Best bagging method | Why |
|---|---|---|
| First sous vide cook | Freezer zip bag + water displacement | Low cost, easy, and effective for many short cooks |
| Weeknight steak, chicken, or fish | Either method | Choose convenience; keep the food fully submerged |
| Meal prep or cook-from-frozen portions | Vacuum sealer | Compact, labeled packages store neatly and resist freezer burn |
| Long cooks, vegetables, or bone-in cuts | Vacuum sealer | More reliable air removal and heat seal |
| Delicate fish or soft produce | Pulse/gentle vacuum or water displacement | A full vacuum may compress the food |
| Soups or generous liquid marinades | Freeze first or use a chamber sealer | Liquid can be pulled into an external sealer |
How to Sous Vide Without a Vacuum Sealer
The water-displacement method uses water pressure to push air out of a zip-top bag. It is simple, but the details matter:
- Choose a new freezer-grade bag. Skip thin sandwich bags, and confirm the manufacturer rates the bag for the temperature and time you plan to use.
- Add the food in a single layer. Keep the zipper area clean and avoid sharp bones that could puncture the film.
- Close the zipper almost all the way. Leave about one inch open for air to escape.
- Lower the bag slowly into the water. Stop before the zipper reaches the surface. The water will press the film around the food and force air upward.
- Seal the final inch. Clip the top of the bag to the container and confirm the food remains below the waterline.
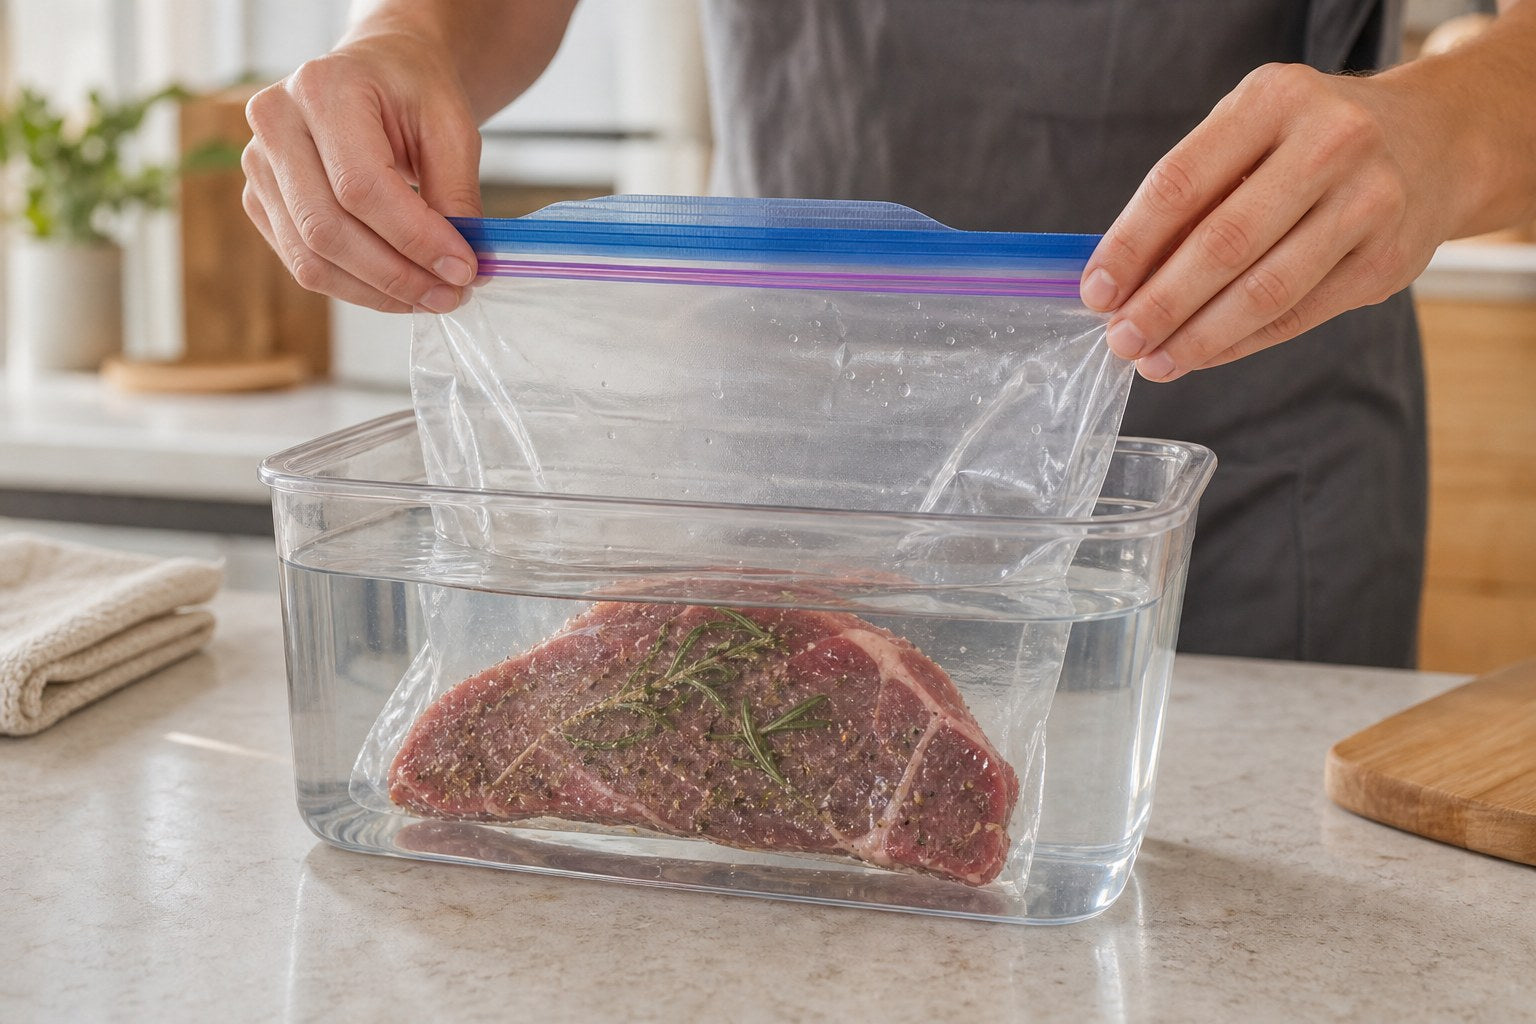
This method is particularly handy for liquid-rich foods because you control the bag at the waterline instead of pulling liquid toward a sealing bar. For very long or hot cooks, however, a purpose-made sous vide bag and heat seal are the more dependable choice.
When a Vacuum Sealer Is Worth the Counter Space
You cook for hours, not minutes
Zippers and thin films face more stress as time and temperature rise. A clean, strong sous vide vacuum seal is useful for short ribs, pork shoulder, brisket, firm vegetables, and other extended cooks. Double-sealing the open end adds inexpensive insurance, while padding or double-bagging sharp bones helps prevent punctures.
You batch-prep or cook from frozen
Portion, season, seal, label, and freeze proteins while they are fresh. Later, the bag can go from freezer to water bath using a trusted recipe that accounts for the frozen start. Vacuum packaging also limits air exposure during storage, helping protect food quality from freezer burn. If this is your routine, a vacuum sealer for sous vide cooking often earns its space before you even switch on the circulator.
Your bags float
Trapped air makes a bag buoyant and creates a barrier between the food and the circulating water. A vacuum sealer removes that air more consistently than squeezing by hand. If a properly sealed bag later balloons, food may be releasing gas; use a rack or sous vide weight and keep every part of the food under water.
You want better control with delicate or moist foods
The strongest vacuum is not always the best vacuum. Pulse or manual control lets you stop before salmon, berries, or soft vegetables are crushed. A moist mode extends sealing time when small amounts of liquid reach the seal area. For large amounts of soup or marinade, freeze the liquid flat before sealing or consider a chamber machine, which handles liquids far better than an external suction sealer.
External vs. Chamber Vacuum Sealers
External suction sealers are the practical choice for most home kitchens. They pull air through the open end of a textured bag, then heat-seal it. They are compact, affordable, and well suited to steaks, poultry, fish, vegetables, meal prep, and freezer storage. The tradeoff is that flowing liquid can be drawn toward the pump.
Chamber sealers place the entire bag inside a chamber and reduce pressure around it. They handle liquids and marinades with less mess and provide precise vacuum control, but they are larger and substantially more expensive. Unless you seal liquid-heavy foods frequently or cook at high volume, an external model is usually the better value.
For regular home use, prioritize reliable seals, pulse or moisture control, a double-seal option, a removable drip area, and enough duty cycle for batch prep. Integrated roll storage and a cutter are convenient, but consistent sealing matters more than a crowded control panel. The Fresko AutoMax V8 adds automatic bag and moisture detection, strong continuous performance, and support for custom 8- and 11-inch rolls.
How to Choose Sous Vide Vacuum Sealer Bags
The bag matters as much as the machine. Use food-grade bags that are explicitly rated for your sous vide temperature and duration. External suction sealers need textured or embossed bags; their channels allow air to travel toward the pump. Chamber machines generally use smooth bags because the chamber removes pressure from the entire environment.
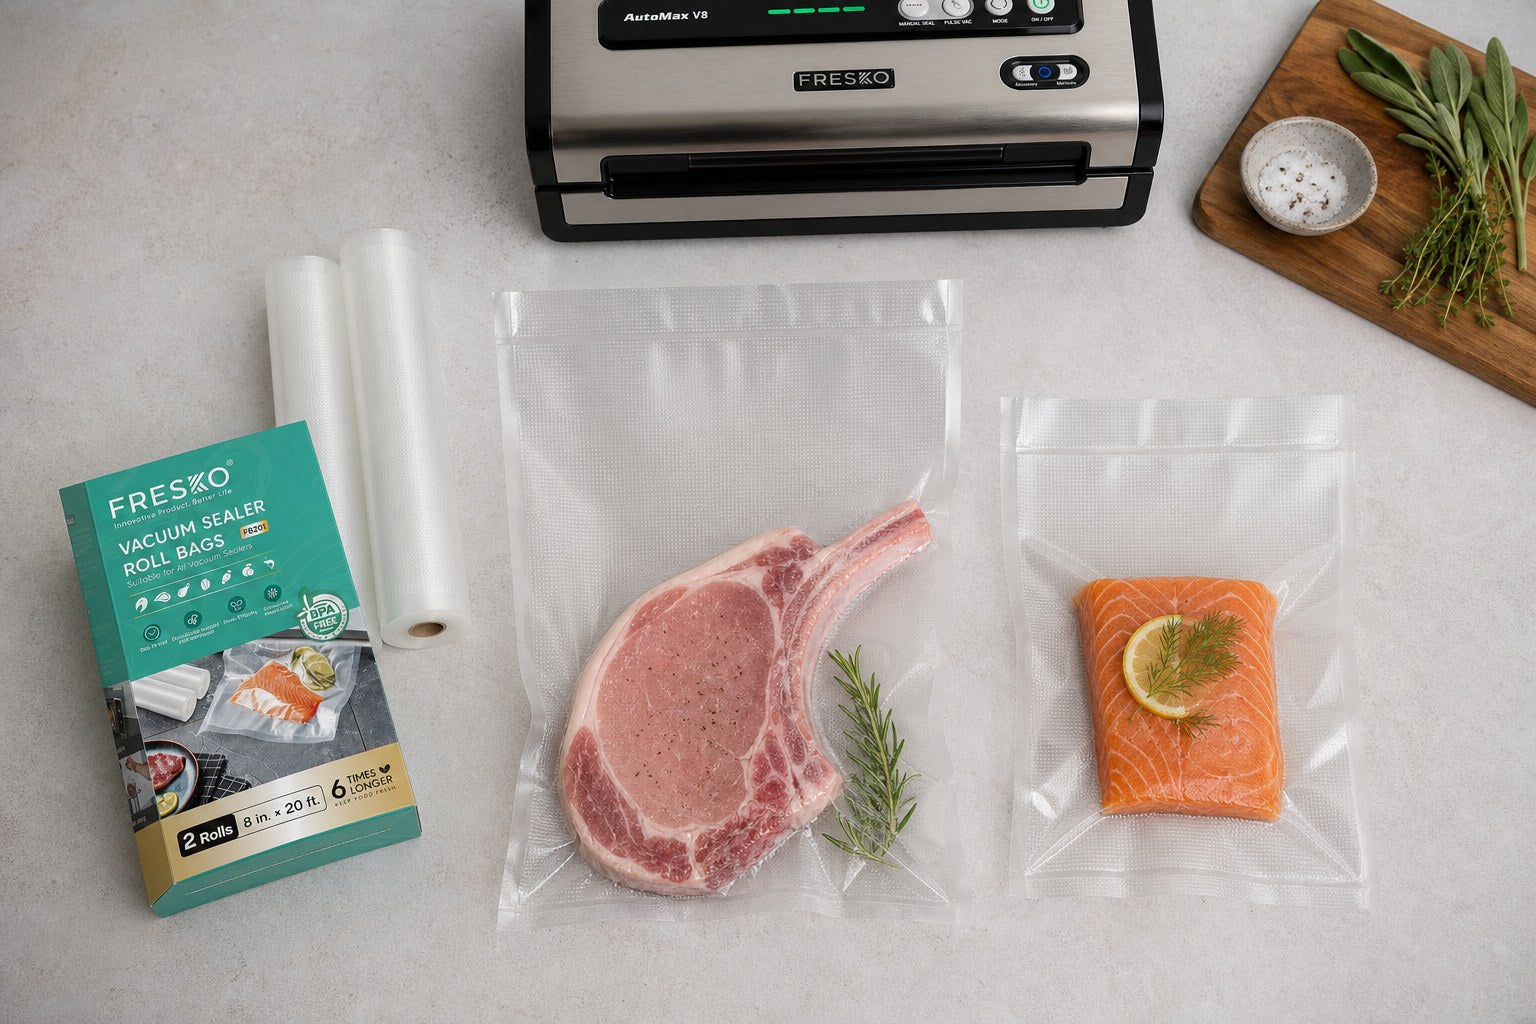
Pre-cut bags are fastest for repeatable portions. Rolls let you make a custom-length pouch for roasts, ribs, or irregular cuts and can reduce wasted material. Choose the smallest size that lets the food lie flat while leaving roughly three inches of clean headspace. Fresko’s sous vide vacuum sealer bags and rolls are BPA-free, embossed for external machines, compatible with major vacuum sealer brands, and rated up to 230°F/110°C.
How to Get a Reliable Seal Every Time
- Cut enough bag. Leave about three inches between the food and the open edge.
- Fold back the opening while filling. This keeps seasoning, oil, and food particles away from the seal zone.
- Arrange food in one layer. Overlapping portions trap air and heat less evenly.
- Dry and flatten the open edge. Wrinkles, grease, and moisture create weak spots.
- Choose the right setting. Use pulse/gentle for delicate food and moist mode for juicy ingredients when available.
- Inspect the seal. Look for one continuous line with no channels or creases. Add a second seal for long cooks or bone-in food.
For a deeper walkthrough, see how to use a vacuum sealer step by step. If a bag keeps floating, leaking, or losing its seal, our guide to common sous vide vacuum-sealing mistakes covers the likely cause.
Sous Vide Food-Safety Basics
Vacuum sealing is packaging, not pasteurization. It does not rescue spoiled food, make raw meat shelf-stable, or replace refrigeration, sanitation, and a validated time-and-temperature schedule. The USDA notes that sous vide packages require refrigeration. If you cook now and serve later, follow a trusted recipe for rapid chilling—typically an ice bath—then refrigerate or freeze promptly. Discard a leaking or swollen package when its safety is uncertain.
Always follow the appliance and bag manufacturer’s instructions. For conservative home guidance on minimum cooking temperatures, consult the USDA safe minimum internal temperature chart.
Frequently Asked Questions
Can you sous vide without a vacuum sealer?
Yes. A new, freezer-grade zip-top bag and the water-displacement method work for many short, moderate-temperature cooks. Use a heat-rated vacuum bag and sealer for greater reliability during long or high-temperature cooking.
Can I use regular vacuum seal bags for sous vide?
Only if the manufacturer identifies them as food-safe and suitable for the temperature and duration of sous vide cooking. Bag compatibility with the machine is not the same as heat suitability.
Does vacuum sealing make sous vide cook faster?
Usually not by a dramatic amount. Removing air improves contact between the bag and water and can support more even heating, but food thickness and the selected time and temperature remain the main factors.
Should I double-seal sous vide bags?
It is smart insurance for long cooks, heavy portions, bone-in cuts, or bags that will be frozen and handled before cooking. Place the second seal slightly above the first on a clean, dry section of film.
Can I vacuum-seal food with a marinade?
Yes, but an external sealer may pull liquid toward the pump. Chill or partially freeze the marinade, leave extra headspace, and use pulse or moist mode. Freeze substantial amounts of liquid before sealing or use a chamber sealer.
Are vacuum-sealed sous vide foods shelf-stable?
No. Vacuum-sealed perishable food still needs safe cooking and cold storage. Keep it refrigerated or frozen, and chill cooked food promptly when it will not be served immediately.
The Bottom Line
You can start sous vide tonight without buying another appliance. Use a sturdy freezer bag, remove the air carefully, and keep the food submerged. But if you meal prep, buy in bulk, cook from frozen, or run long cooks, a vacuum sealer turns a workable process into a repeatable one. Explore Fresko vacuum sealers and sous vide-ready bags to build the setup that fits your kitchen.
Share:
How to Choose the Right Vacuum Sealer Bag Size
7 Common Sous Vide Vacuum Sealing Mistakes That Ruin Your Cook (2026 Guide)